If you’re transforming outdoor spaces with premium materials – whether it’s a porch upgrade, siding replacement, or a full exterior renovation – don’t let your work go unseen. Before-and-after photos are one of the simplest, most powerful tools to help you market your craftsmanship, build trust and win more jobs.
Whether you’re a deck builder, remodeler, or full-service exterior pro, this guide shows you how to take high-impact photos that do your work justice – and help your business grow.
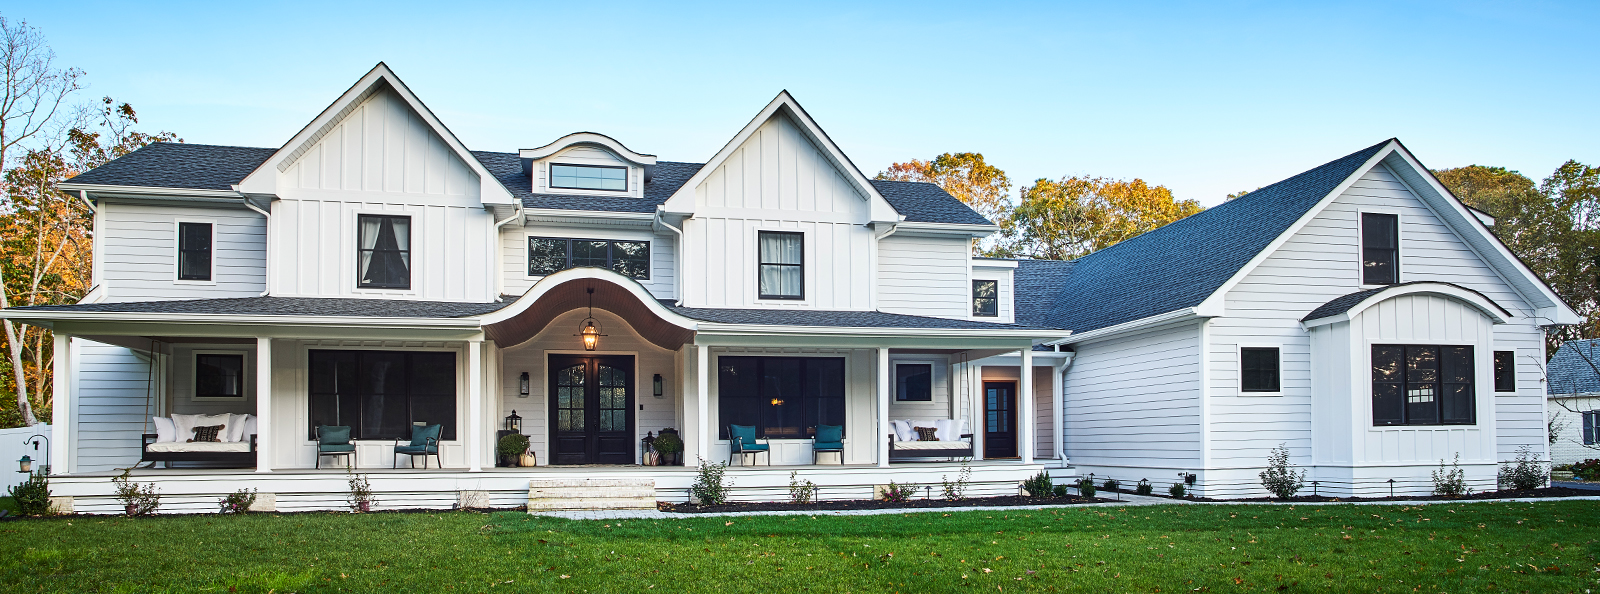
Anyone can claim to do great work. Photos prove it. A strong set of before-and-after images lets clients see the transformation of a weathered, outdated space turned into a beautiful outdoor living area with their own eyes the impact is immediate and lasting.
Here’s why these photos are essential:
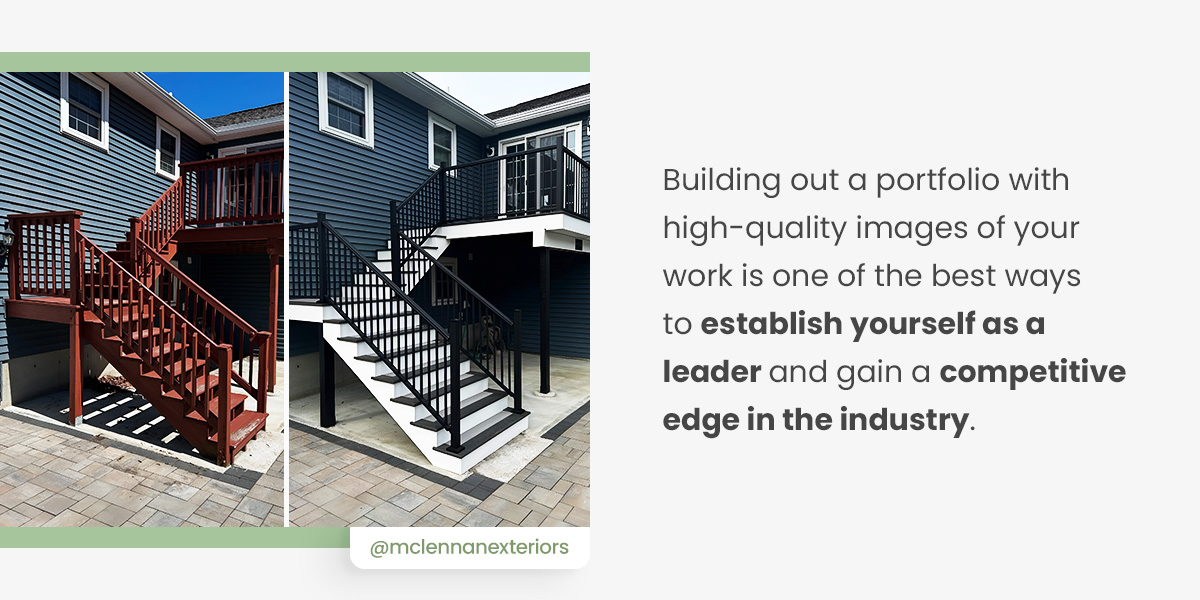
Building out a portfolio with high-quality images of your work is one of the best ways to establish yourself as a leader and gain a competitive edge in the industry.
Taking great before-and-after deck images isn’t just about snapshots. These photos can be a strategic tool that elevates your business, builds trust and attracts clients. Planning carefully, capturing authentic photos and sharing them thoughtfully make your craftsmanship a powerful visual story.
Before-and-after photos can be one of your most effective tools if you’re building or renovating decks, but how do you take deck photos? Use the following tips to show off your work to potential clients:
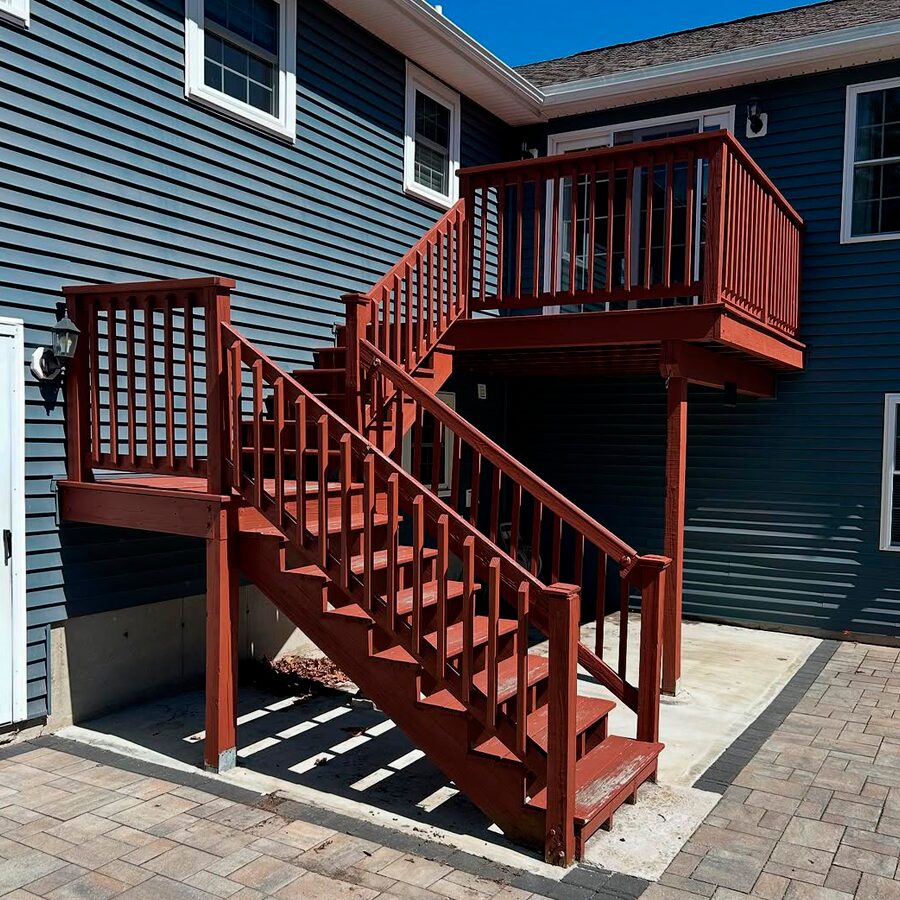
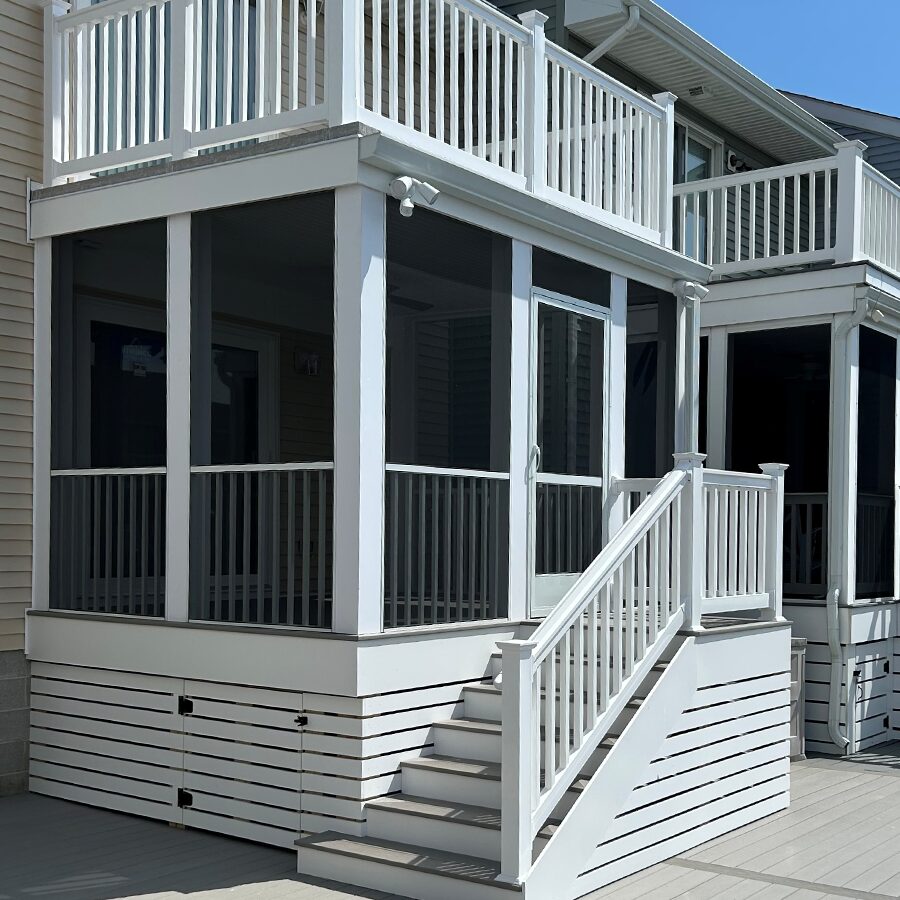
Before you start the project, take a walkthrough and decide what you want to capture. Is it highlighting a custom railing, new siding, a porch ceiling or a full deck installation? Choose angles that highlight the most dramatic changes.
Talk with your client about capturing photos and how they may be used – your website, social or portfolio. Pick a time of day with softer light (early morning or late afternoon) to avoid harsh shadows or glare.
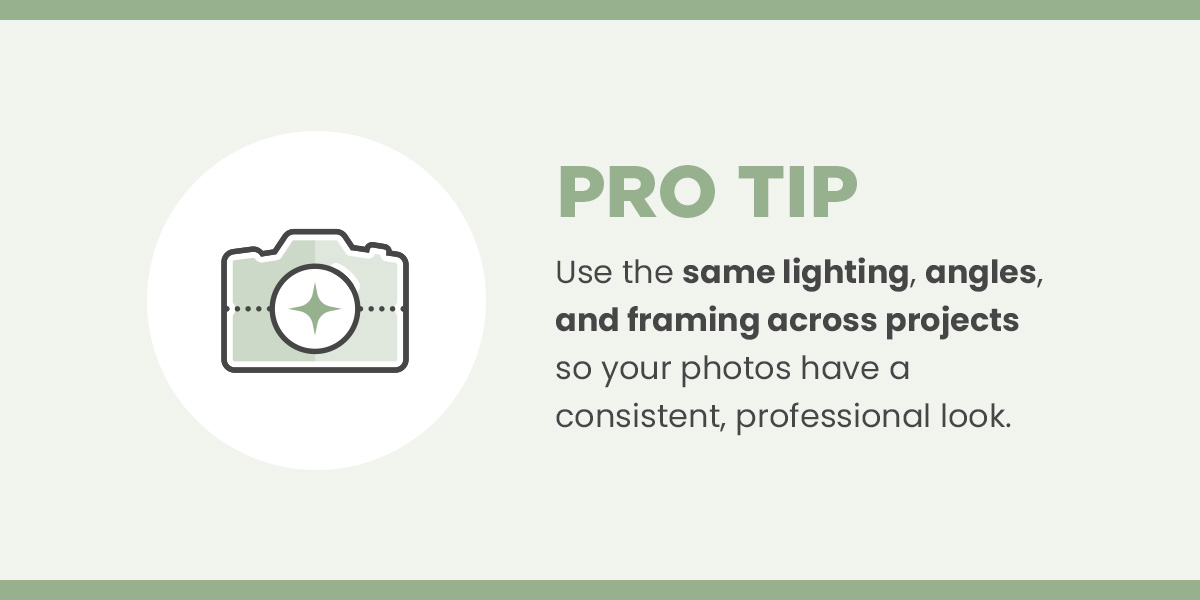
PRO Tip: Create a simple shot list to keep your photos consistent and professional. Include key angles like corner views or straight-on shots, and capture progress stages from start to finish.
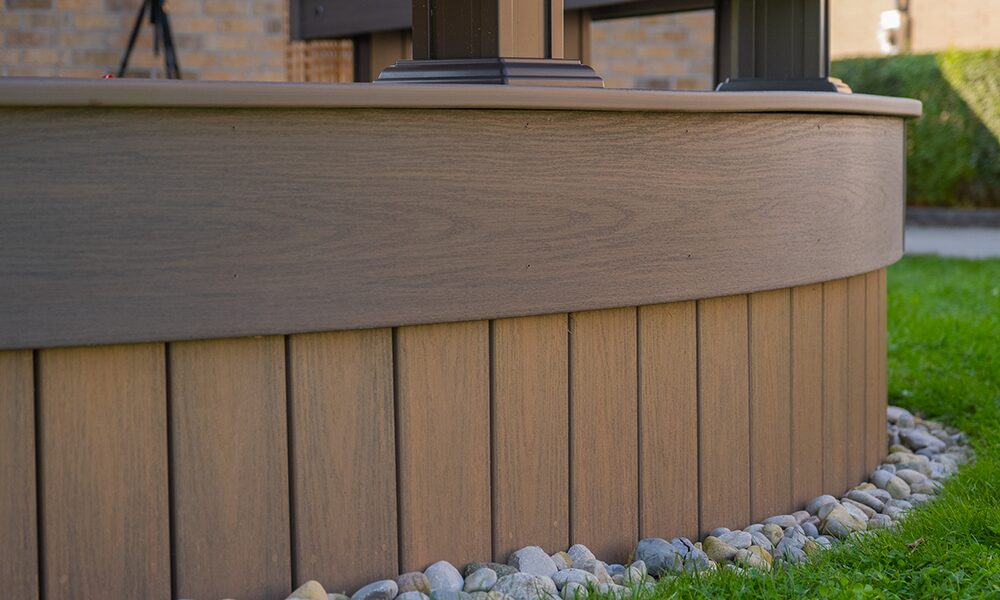
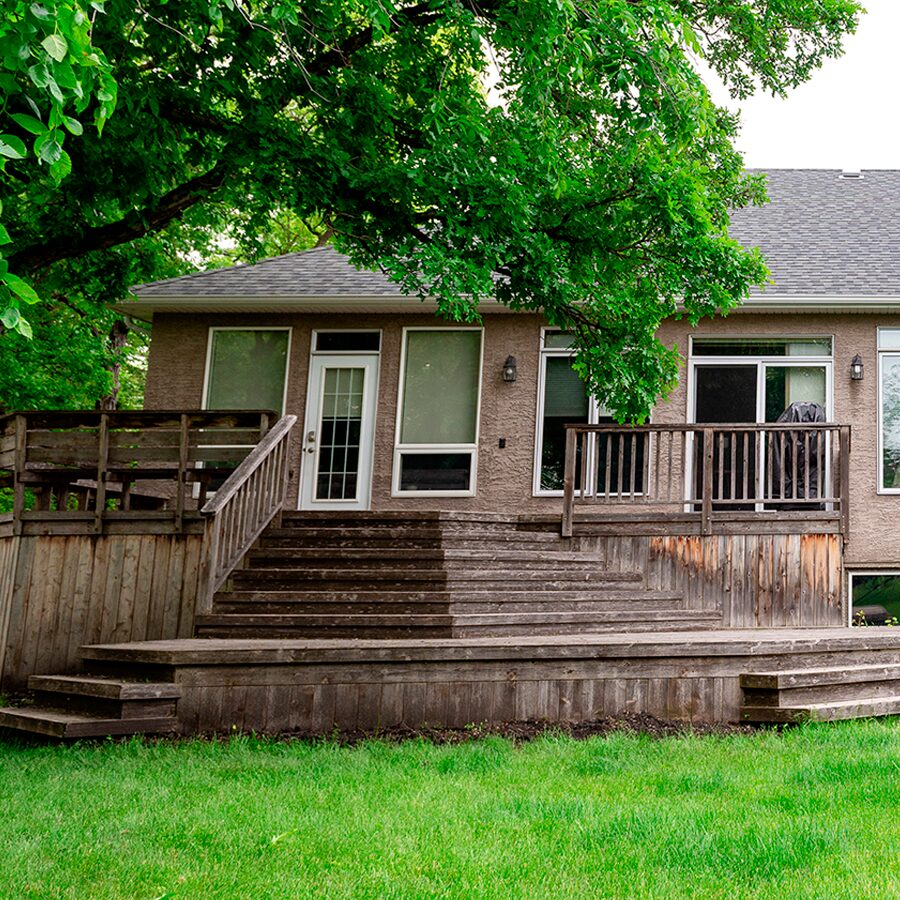
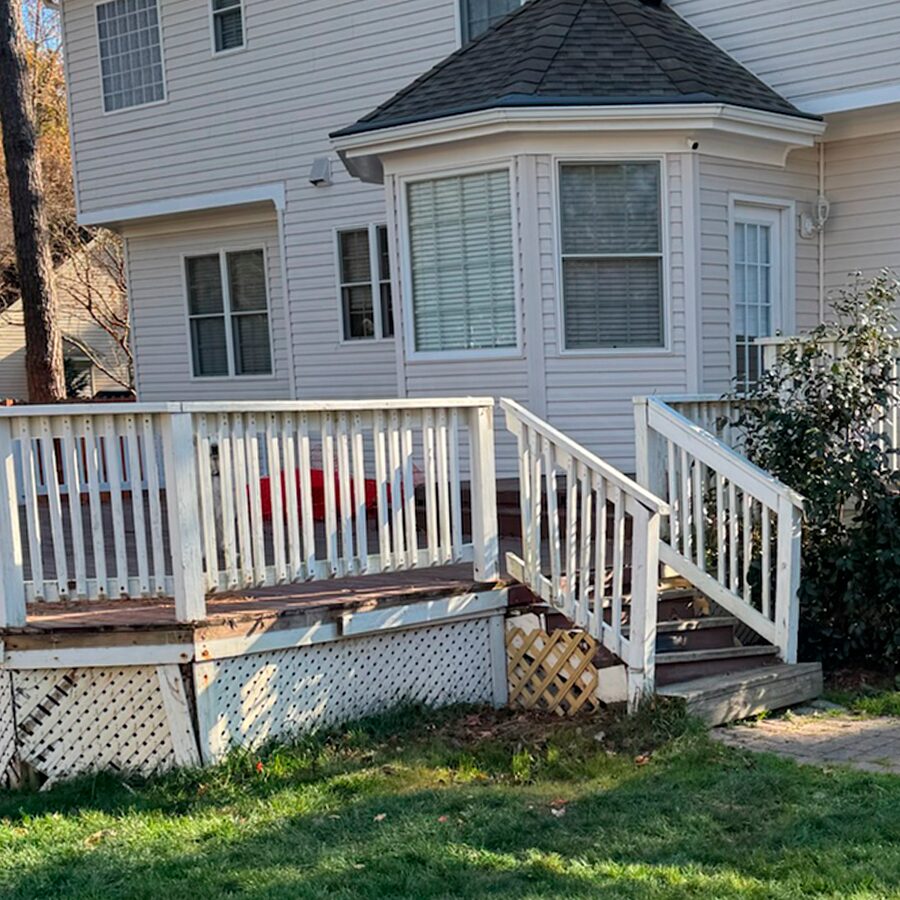
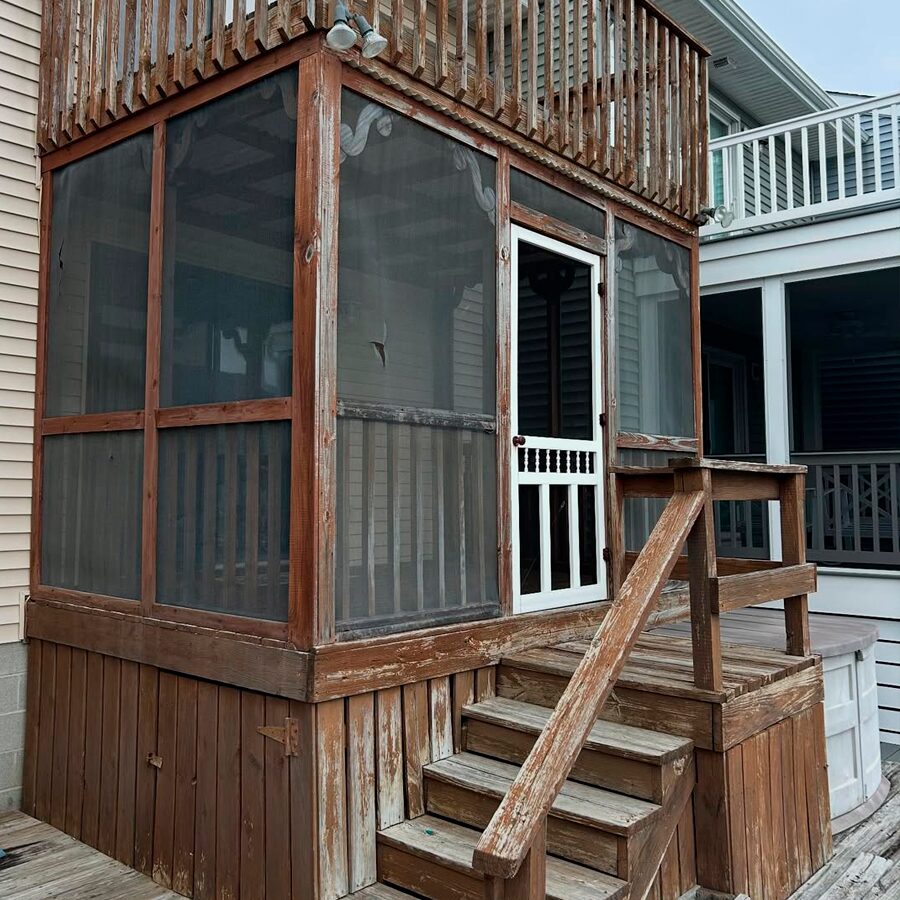
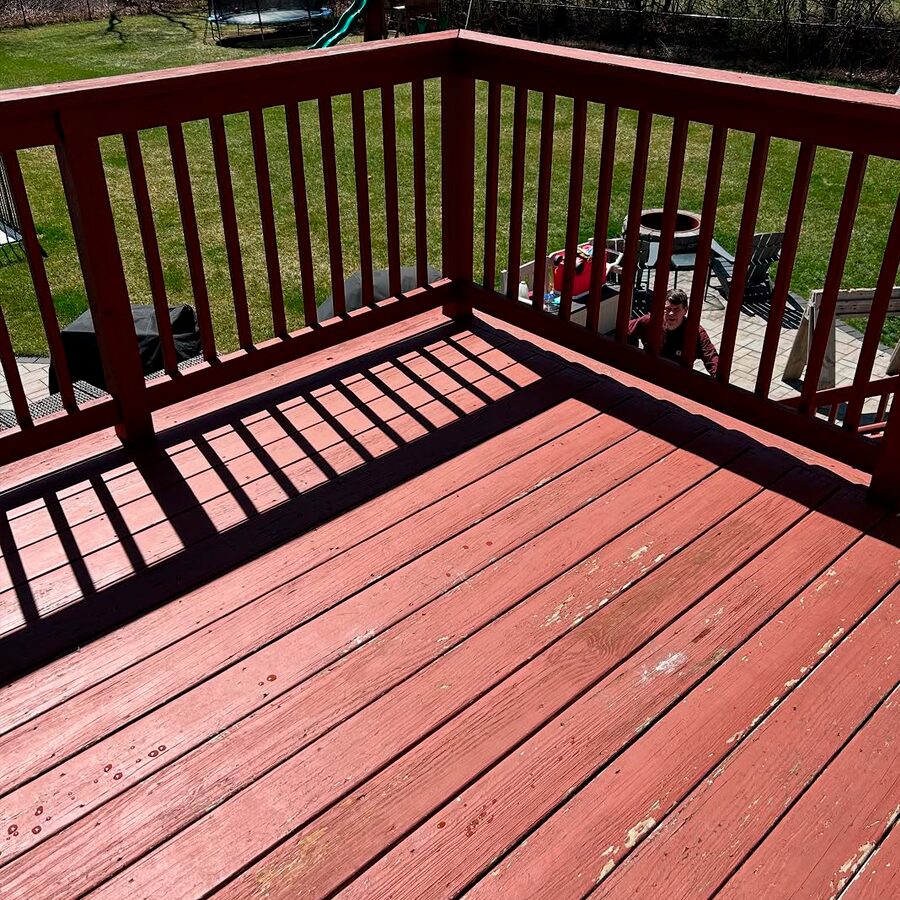
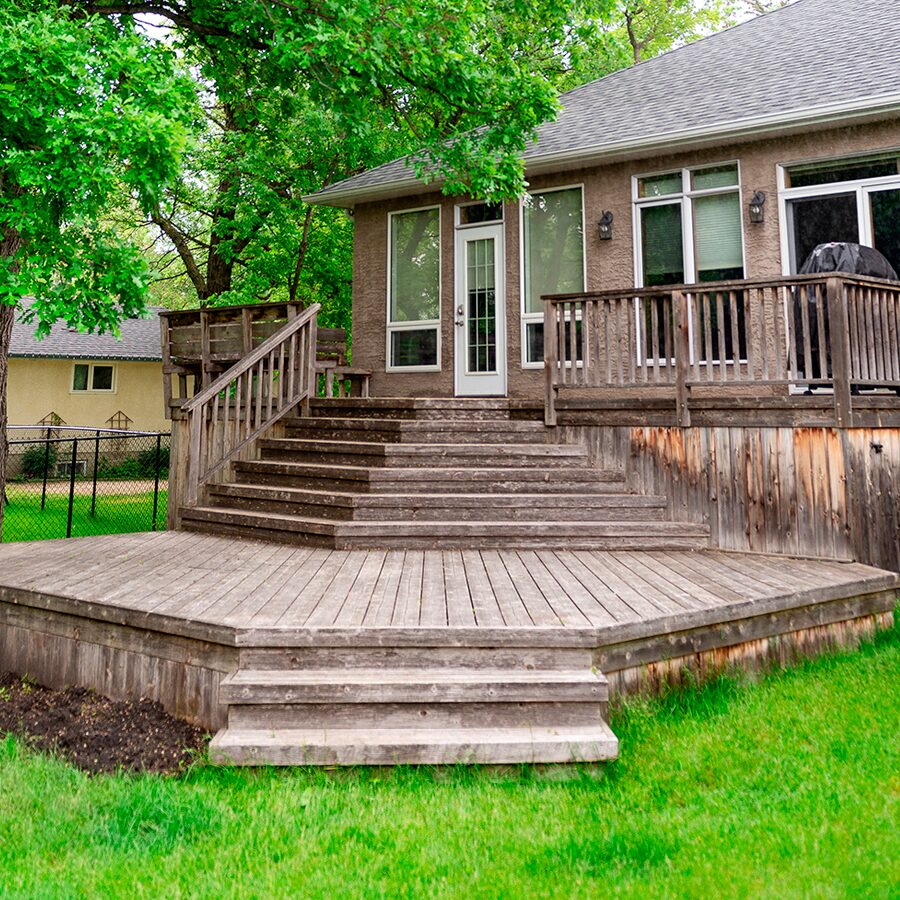
Don’t skip these – they’re key to showing full transformation. Take wide shots of the full structure and close-ups of problem areas: faded siding, weathered decking, missing trim, etc.
Use a tripod or mark your spot so you can replicate angles later. Keep the lighting and framing clean and avoid staging or cleanup. Authenticity matters – let the “before” show the true need for your work.
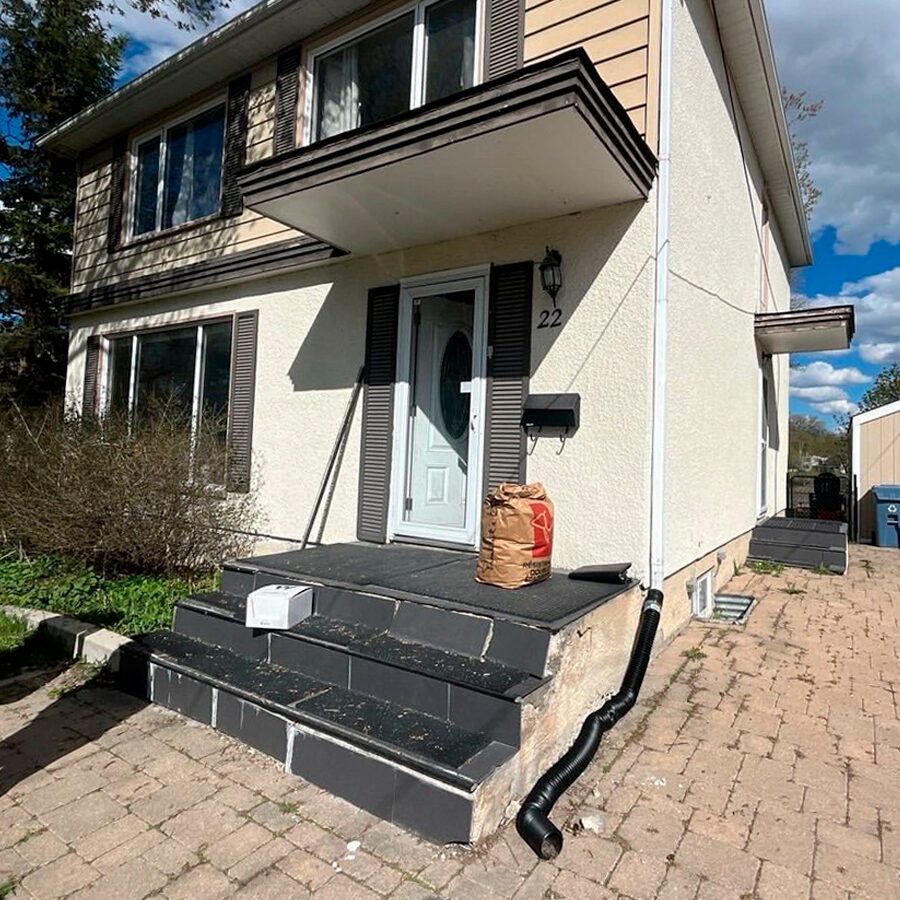
Photos taken during different phases of the project: demo, install, detail work – help tell a complete story. They show that your attention to detail starts well before the final result.
These shots are great for:
Even quick phone snaps from consistent angles can make a big difference in your content.
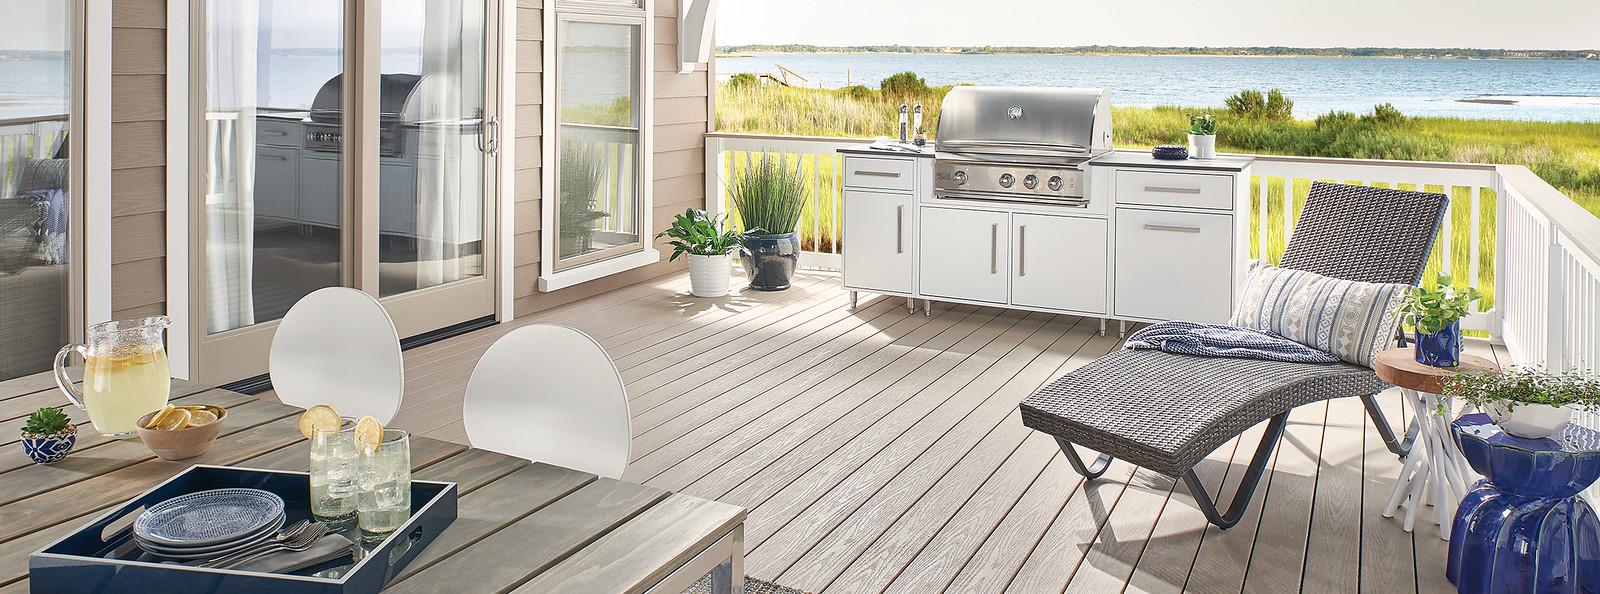
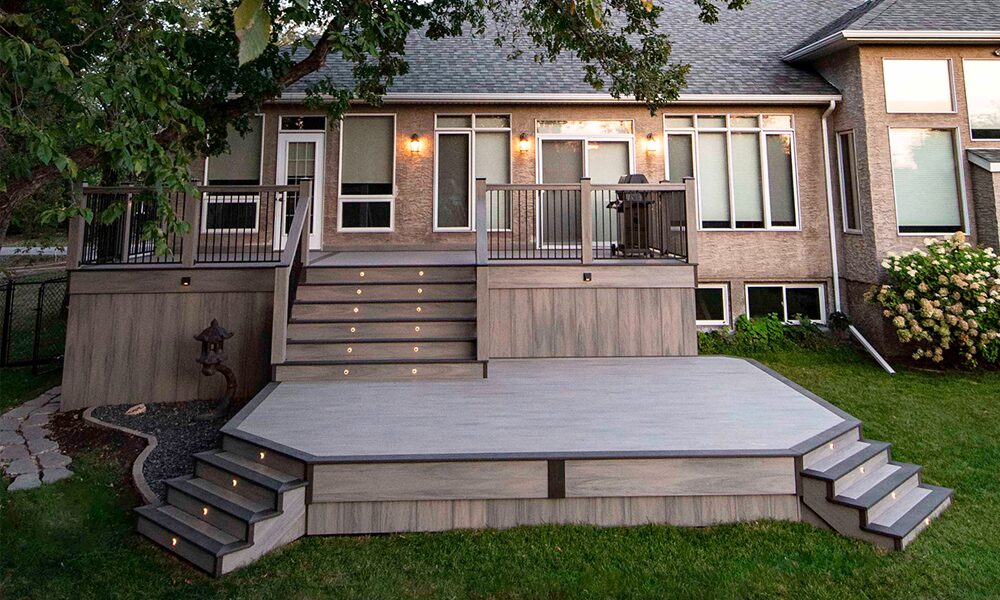
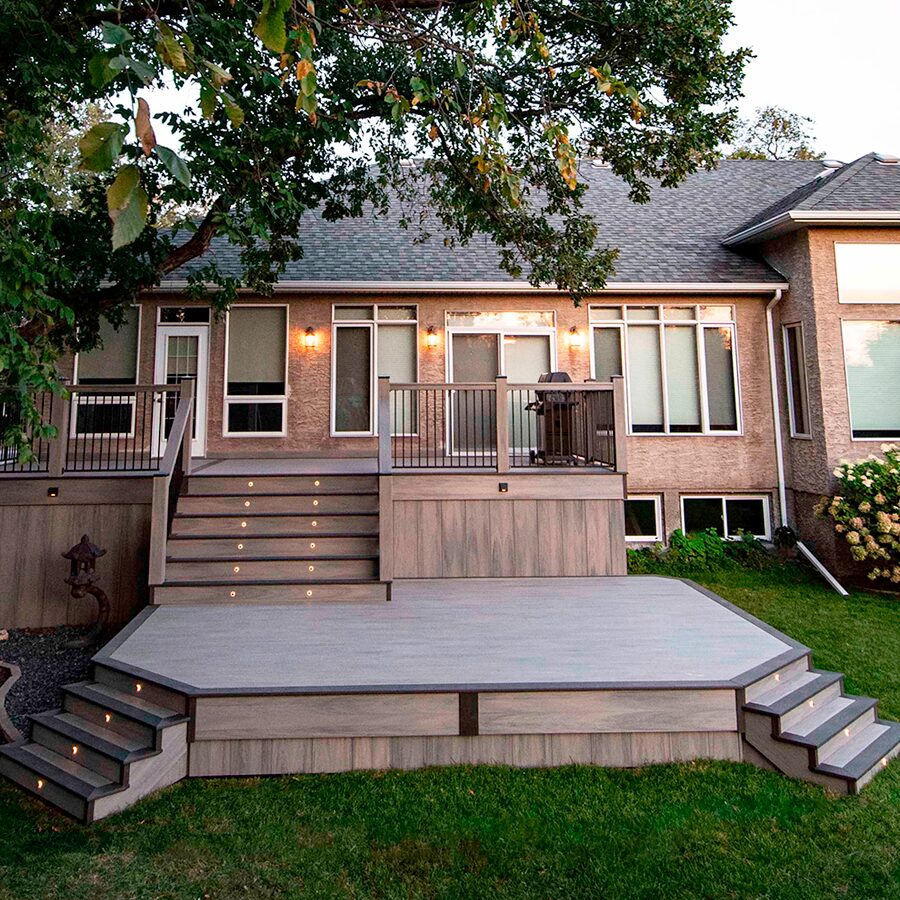
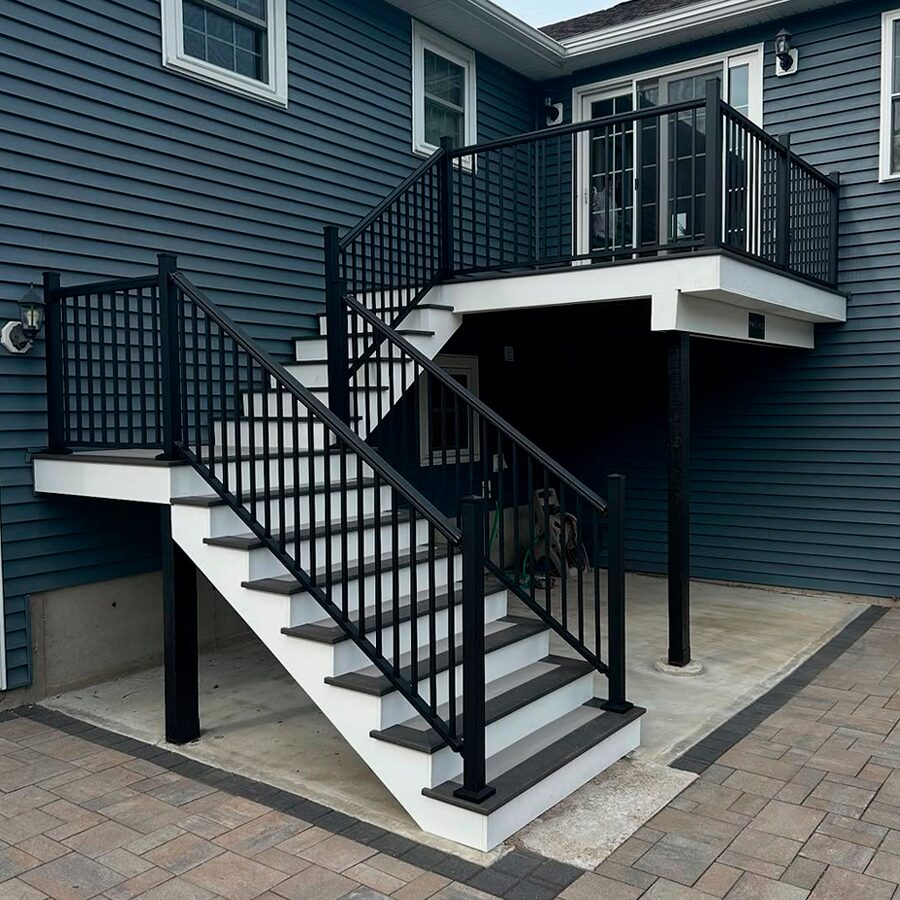
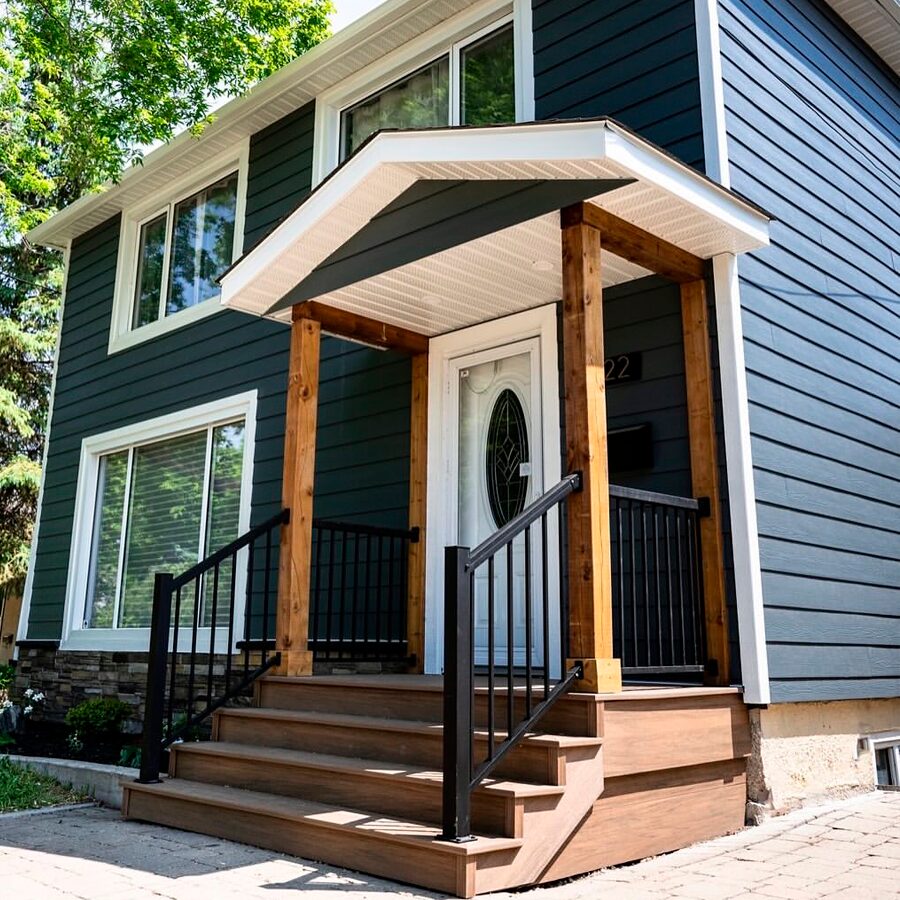
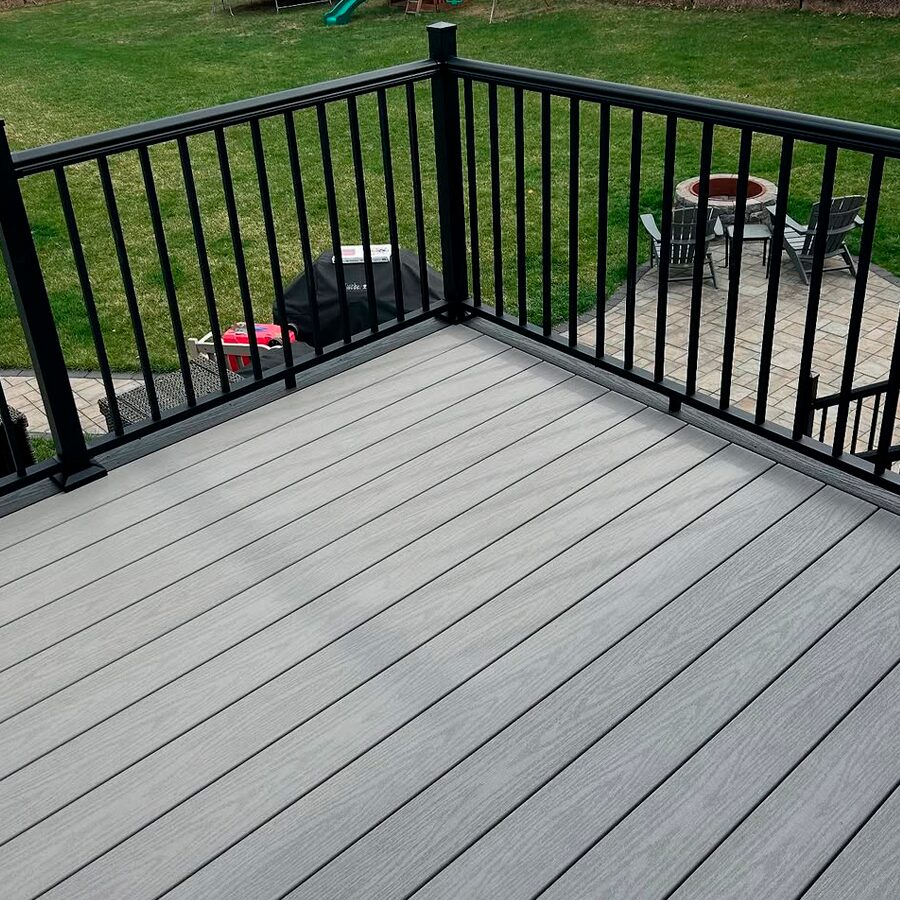
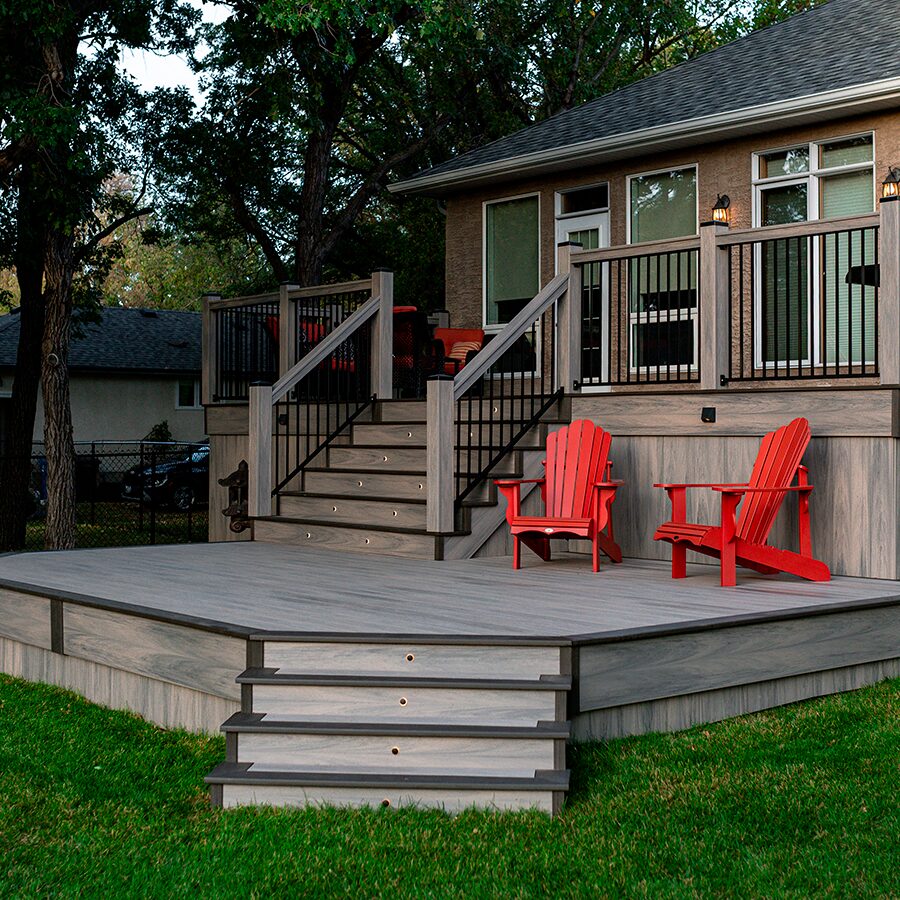
Once your work is complete, take time to clean and prep the space for photos. Whether it’s a porch, deck, or siding job, make sure it’s spotless and uncluttered.
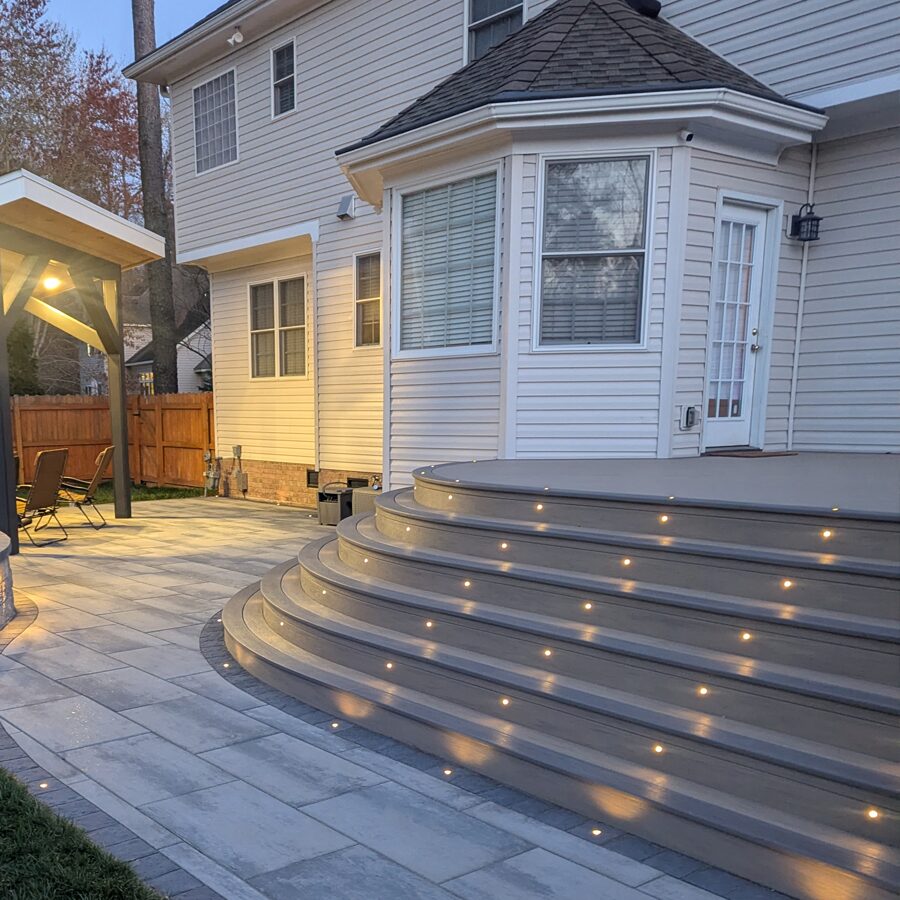
Stage it with furniture, planters, lighting – even subtle seasonal touches. These help the homeowner (and future clients) picture how the space can be used. Want bonus impact? Ask to include people (with permission). Even a shot of someone relaxing on a finished porch makes the project feel more relatable and real.
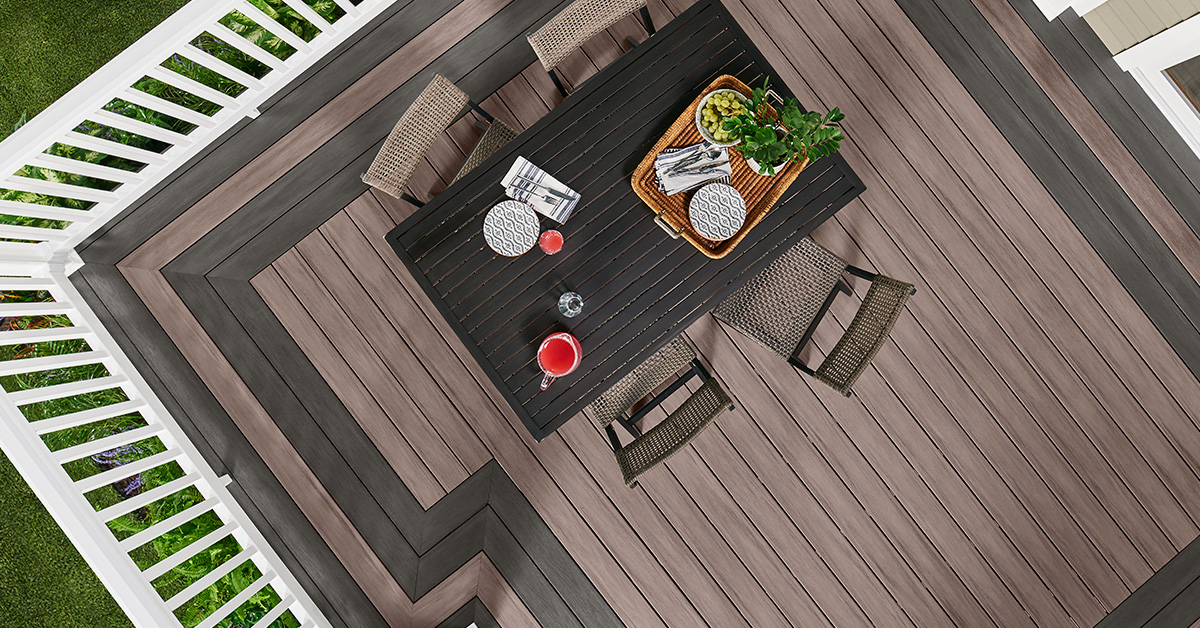
If possible, capture both daytime and dusk versions to show off lighting and mood. Always shoot more than you think you’ll need – this gives you options to sort and select your best shots later. Make sure images are sharp and high-resolution so they’re ready for use across both print and digital platforms.
A strong after photo does more than document your work — it sells the dream.
Want to go a step further? Capture a time-lapse of the full transformation or a short walk-through video at the end of the job.
Use simple tools like your phone or a GoPro on a tripod. Edit with free apps like InShot or Canva.
These clips are perfect for Instagram Reels and Stories, TikTok, Facebook or YouTube Shorts, and your project gallery.
They give your marketing an edge – and help clients connect with your craftsmanship and brand on a more personal level.
Keep things natural. Edit for straight lines, proper exposure and clean color. Use tools like VSCO or Lightroom to:
Subtle tweaks can bring out details, enhance sunlight, and correct any color distortion caused by poor lighting conditions. Avoid over-saturation or heavy filters that misrepresent your work. Keep it real.
Once your photo set is ready, don’t let it sit in your camera roll. Use it to build your business:
PRO Tip: Group similar projects (e.g., porches, siding jobs, outdoor remodels) into categories to make your portfolio easier to navigate.
Before sharing any photos or videos of your projects, make sure your client is on board. Use a simple photo release form that outlines how the content will be used.
Also:
Being respectful and transparent protects both you and your clients – and keeps your brand looking professional.
High-quality project photos aren’t just documentation – they’re lead generators. They help you connect with future clients, justify your pricing, and show off the value of working with a Wolf PRO. The key is consistency: plan your shots, keep your process simple, and use your content wisely.
As a certified Wolf PRO, you get the training, tools, and support to grow your business and showcase your work.
Ready to elevate your craftsmanship and reputation? Become Wolf PRO certified today!