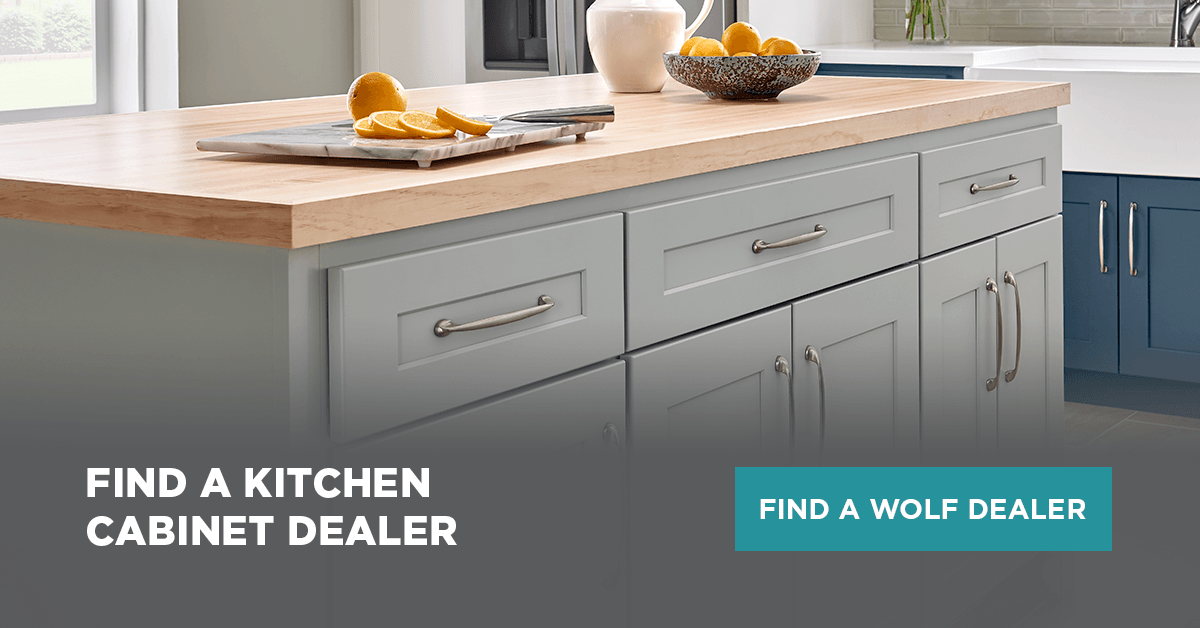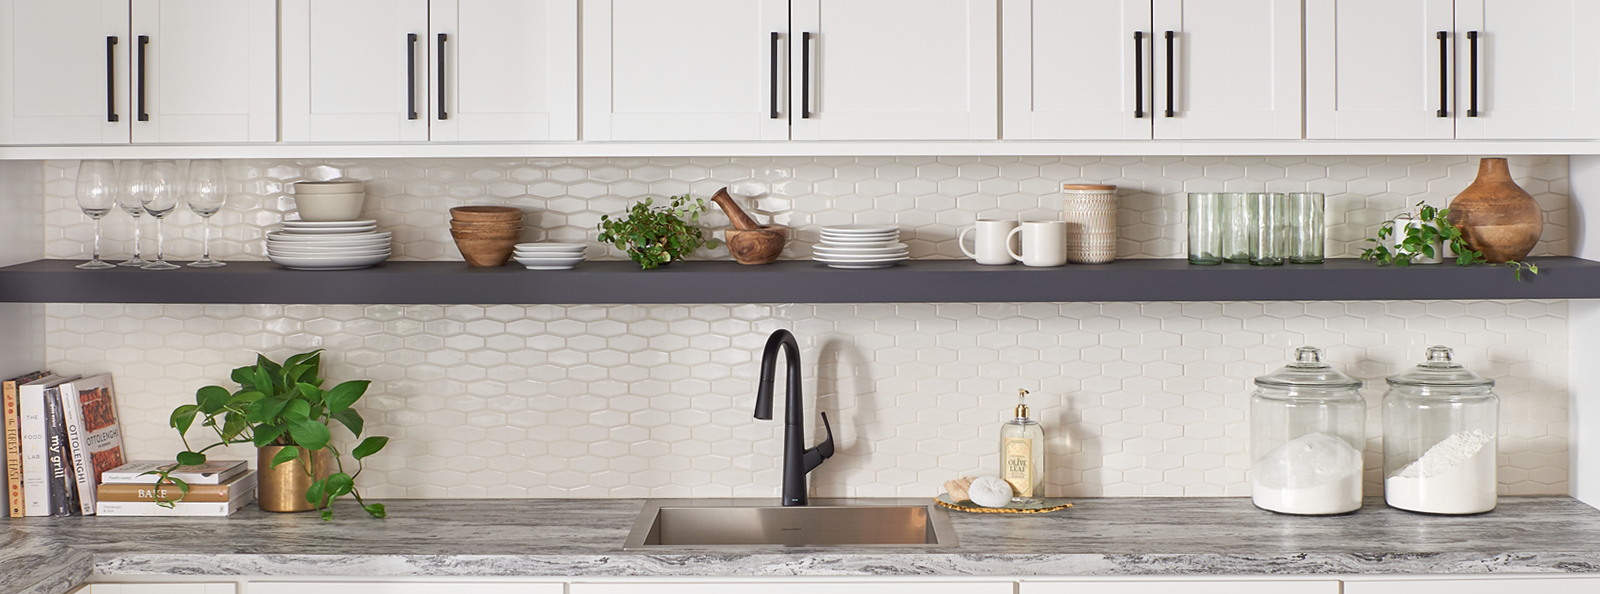
An island is one of the most popular kitchen fixtures, with 76 percent of homeowners considering it essential to the kitchen. Great for food preparation, eating and storage, this piece of furniture transforms the way you enjoy the busiest space in your home.
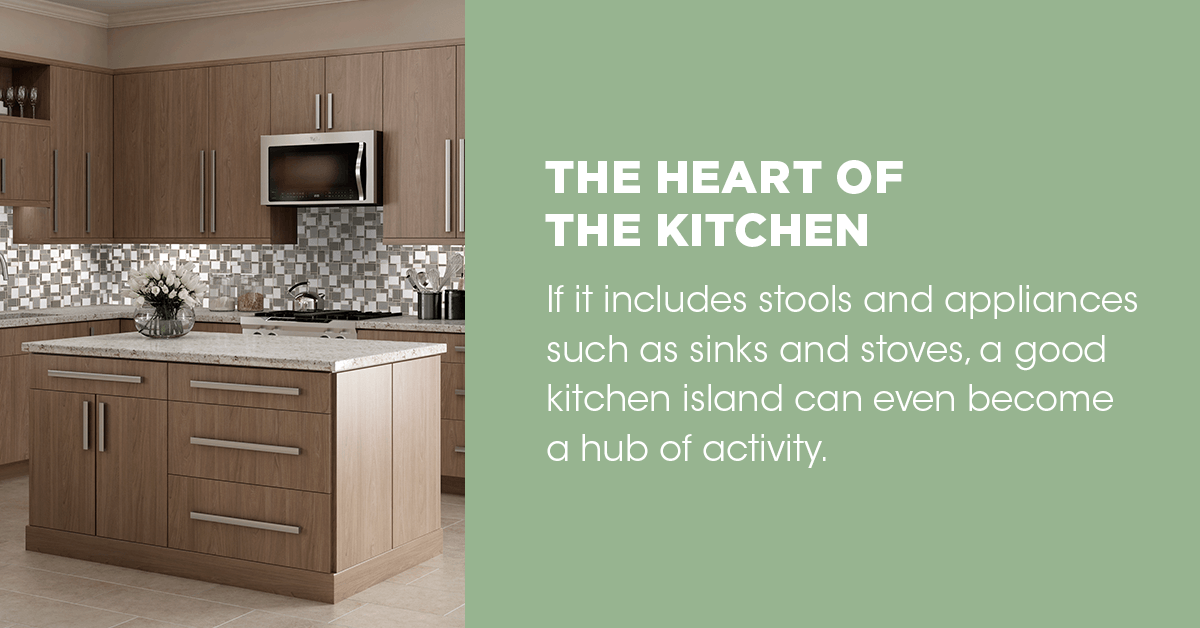
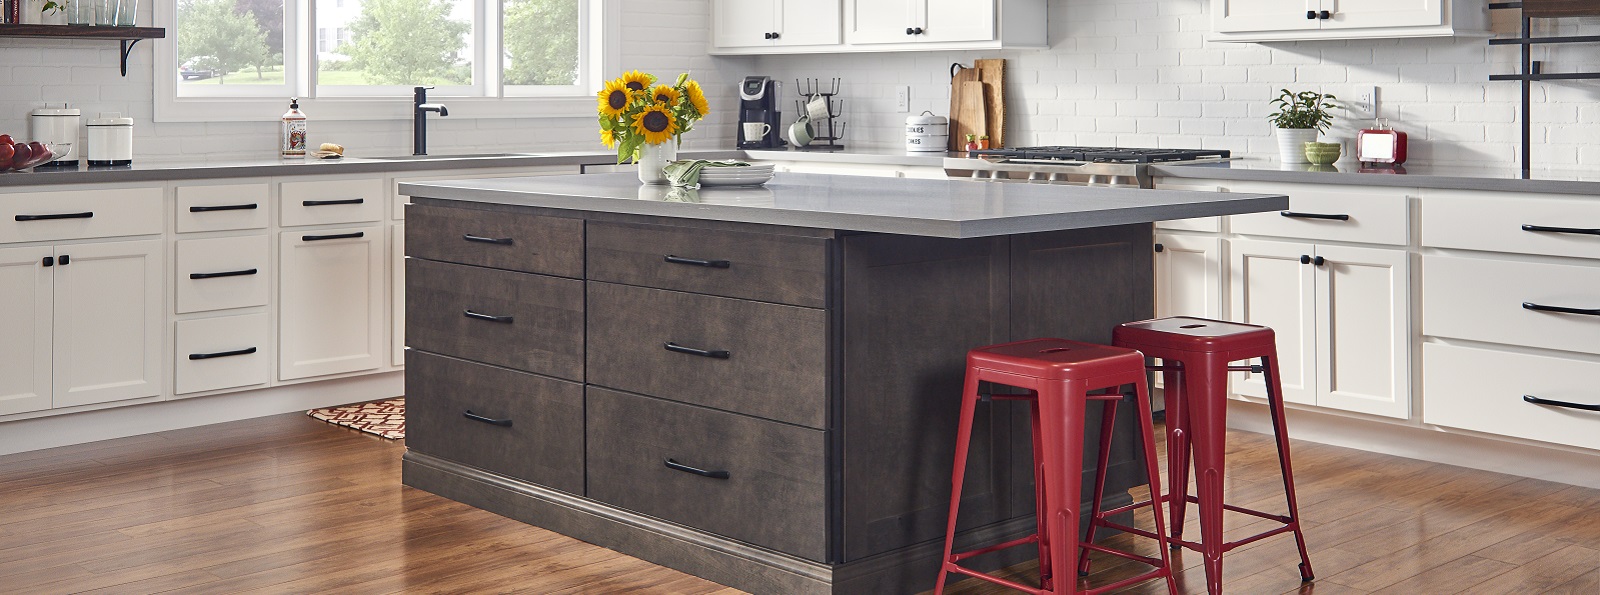
An island provides counter space in a very important place — in the middle of your cooking, cleaning and food preparation zones. If it includes stools and appliances such as sinks and stoves, a good kitchen island can even become a hub of activity. For this reason, many builders and designers believe the addition of a kitchen island adds more value than any other upgrade to your kitchen.
Kitchen islands in the United States date back to the Colonial era. These worktables were where families prepared meals and sat down to eat. Even after cabinetry was invented, islands remained a freestanding item with their own distinct look and style. This tradition still exists today, as islands incorporate designs, materials and colors unlike those of their surroundings, which turns them into a focal point of the kitchen.
When choosing a kitchen island, follow these tips to figure out which size, shape and materials are best for your situation:
Before deciding on the specific type of kitchen island you’d like to have, take some time to consider what your biggest priority is for installing one. After all, islands are versatile additions and can be used for all kinds of purposes.
Maybe you’re looking to add some extra storage space in your kitchen for pots and pans or baking supplies. Or, if you make a lot of homecooked meals, you might need some more counter space so that you can easily chop, mix up and prepare recipes. For families that love to entertain, adding extra seating for loved ones may be the main focus.
No matter what your priority is, you want to make sure your preferred island style will be well suited for it.
Another thing to think about when browsing kitchen island types and shapes is what the people who will be using it will need. Do your children like to eat their snacks or meals in the kitchen? Will you be using your island as more of an entertaining hub when you have friends or family over?
Depending on how you will use this addition, you may want to consider different features, like a lower height, to best suit everyone’s needs.
Because an island is unattached by definition, you can theoretically put it anywhere in the kitchen you want — but that doesn’t mean you should. Kitchen islands should go where they are most useful. If you’re going to use it for food preparation, for instance, it makes sense to keep it closer to the fridge or pantry so you can quickly access ingredients. If you want to use the island to serve food, having it closer to the stove might be a good idea.
Even if your kitchen is short on space, you can almost always make room for a comfortable kitchen island. Builders can create islands to specs such as a certain height, a certain depth and with cabinets that are exceptionally large or small. A kitchen island can be as small as 40 inches by 40 inches, which seems tiny, but it still provides plenty of room for chopping and storing smaller appliances.
The average dimensions of a kitchen island are three feet by six and a half feet. In the vast majority of cases, however, the size of the kitchen will dictate the size of the island. Larger kitchens can usually accommodate larger islands.
The island needs to have enough free surrounding space to allow easy and safe movement around it, which is called the clearance zone. The ideal clearance zone for an island is around three feet.
In calculating the clearance zone, you must take into account how far cabinet doors, drawers and appliances swing out. The distance must be sufficient to allow these elements to open without colliding with each other. A particularly dangerous item is the dishwasher door — because the door opens downward, you could trip over the door and hurt yourself. For this reason, it’s best to leave at least three feet of space between two opposing, fully opened drawers.
One other factor that might dictate the size of your island is the width of the passageway to your kitchen. If you want a countertop to be one solid piece, make sure it can physically fit inside your house before you order it. If you can only access your kitchen through a winding passageway or narrow flight of stairs, you might have to reduce the size of your island.
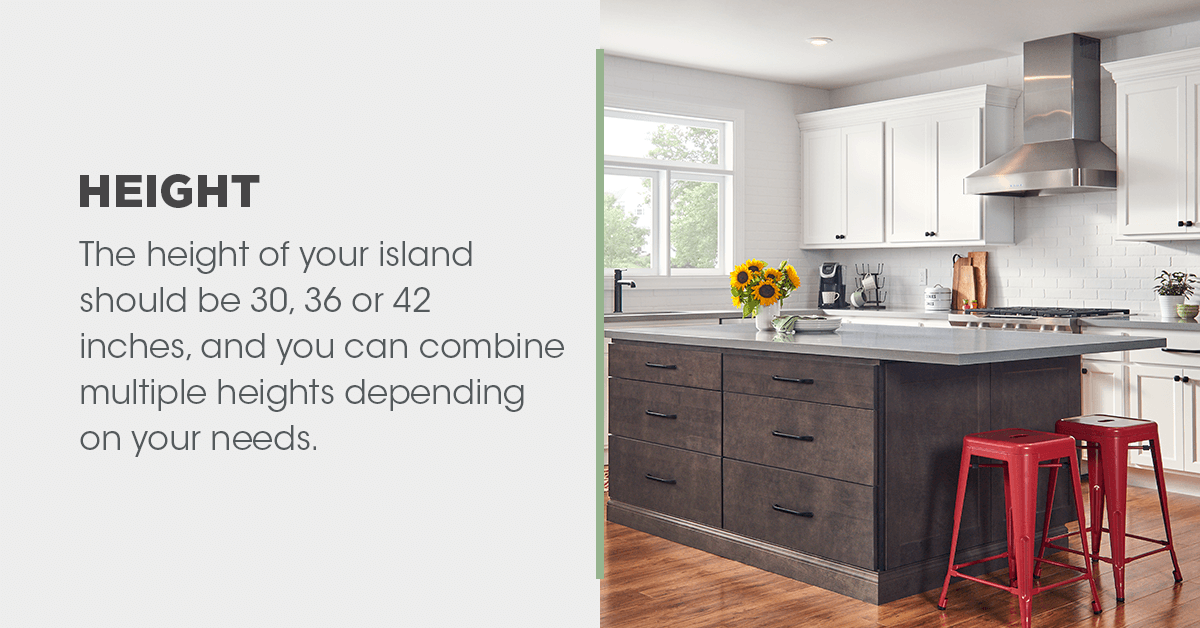
The height of your island should be 30, 36 or 42 inches, and you can combine multiple heights depending on your needs. If you want to use part of the island for baking, you can make that side lower — and if you want to eat at the other end, you can make that side taller to accommodate bar stools.
Knowing how you’re going to use your island will help you decide the height. Here are recommended heights for some kitchen activities:
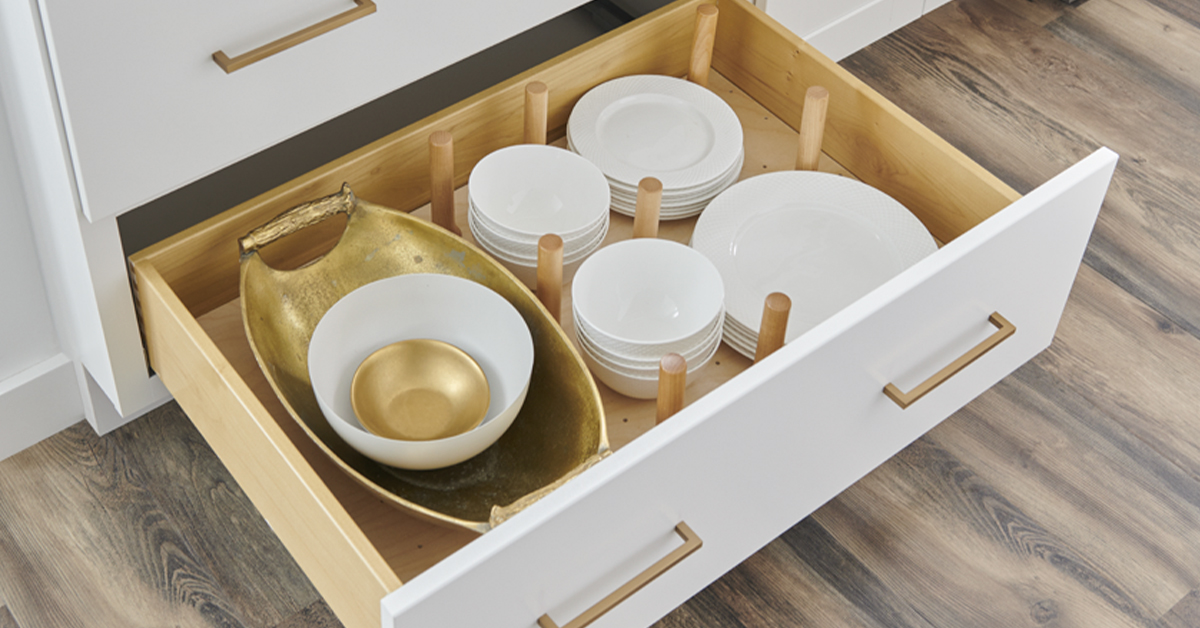
There are all types of kitchen island add-on features that allow you to add a personal touch to your space. If you have a kitchen island with drawers, choose hardware that complements the style and overall aesthetic of your kitchen. Do you love to host gatherings with your friends? Consider adding a wine rack or beverage center to really transform the space. You could even incorporate elements like a built-in cutting board or a prep sink to make preparing daily meals and party feasts easier.
When choosing new kitchen island cabinets, don’t forget about the lighting. Your lighting decisions can impact both the look and feel of your island. Adding pendant lights, which hang from the ceiling, or under-cabinet lighting can make a big difference.
There are various kitchen island designs to choose from.
These little, moveable carts on wheels are perfect for small kitchens. Whether they’re for storage or extra cooking space, they can be there only when you need them to be. They are also affordable and light enough for one or two people to move. Many have wheels with locks which allow or prevent them from rolling.
You can buy a ready-to-assemble mobile cart island, or you order a custom island cart that includes items you want the most. Remember that these items won’t have running water or electrical outlets, and running an electrical cord from the island to a wall could be dangerous.
These are like mobile cart islands, except they don’t have wheels. They are 38 inches tall — the ideal height for prepping food. With this cart, you avoid the annoying tendency of the counter sliding away when you’re cutting something.
You will avoid many hassles by not affixing this island to the floor. Connecting it to the floor will trigger the electrical code’s requirement to install receptacles.
These islands tend to be quite compact, usually no longer than four feet — so you must decide whether it’s big enough for your needs.
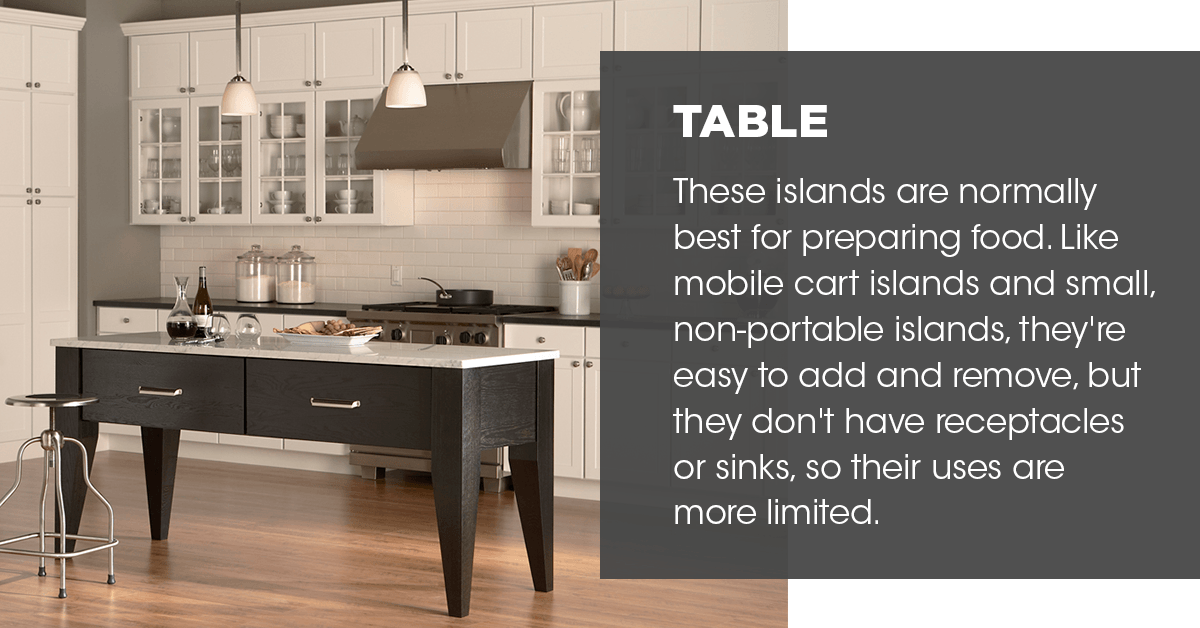
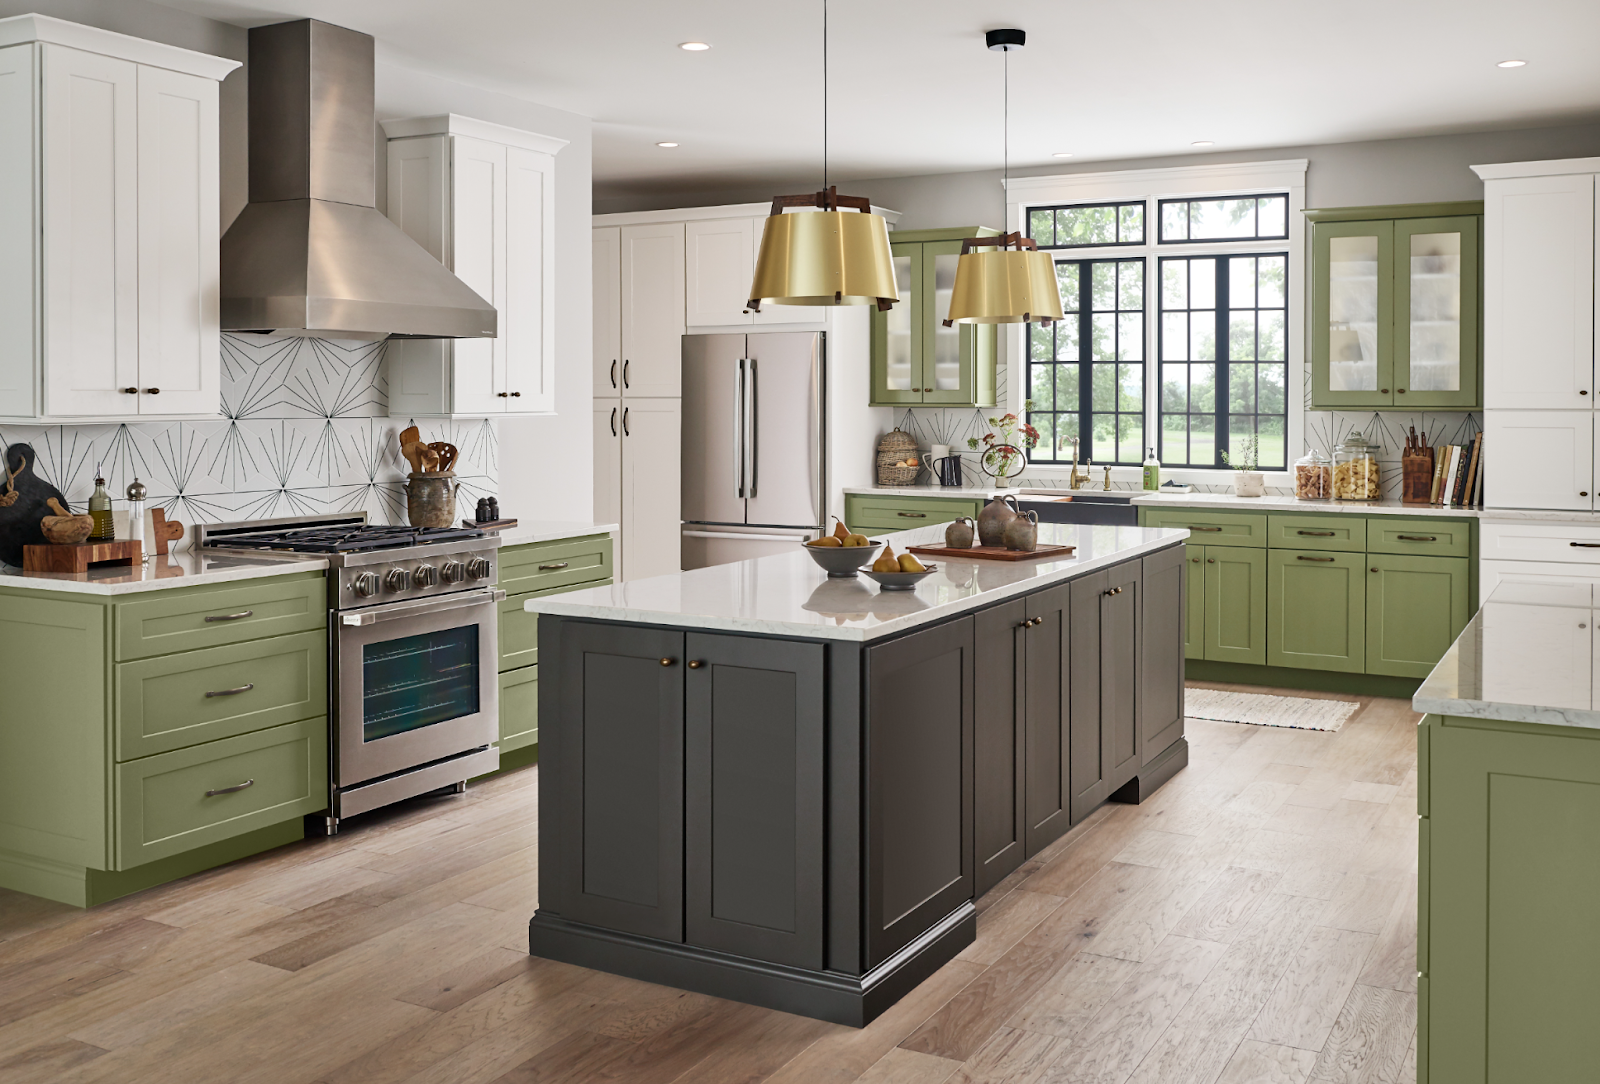
Table islands have a flat top, four legs and are completely open underneath. In other words, it’s a table in the middle of your kitchen. These typically come with a marble countertop.
These islands are normally best for preparing food. Like mobile cart islands and small, non-portable islands, they’re easy to add and remove, but they don’t have receptacles or sinks, so their uses are more limited.
Unlike the previous three types, these islands are fixed to the floor, which means — as long as the dimensions are at least 12 by 24 inches — electrical codes require their design to include receptacles.
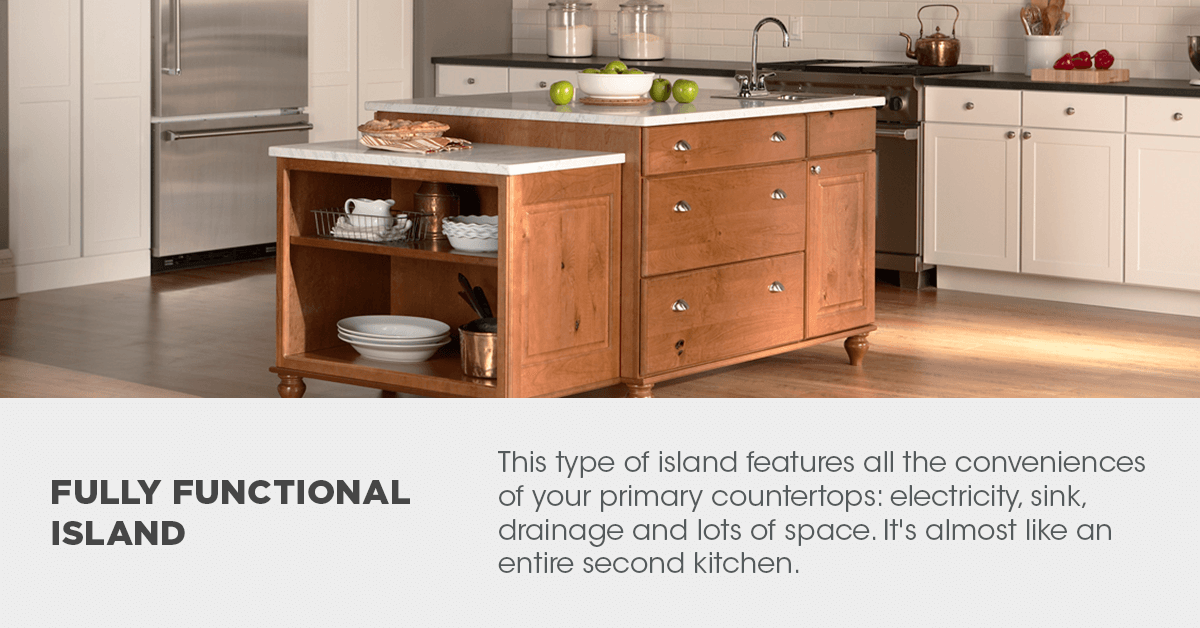
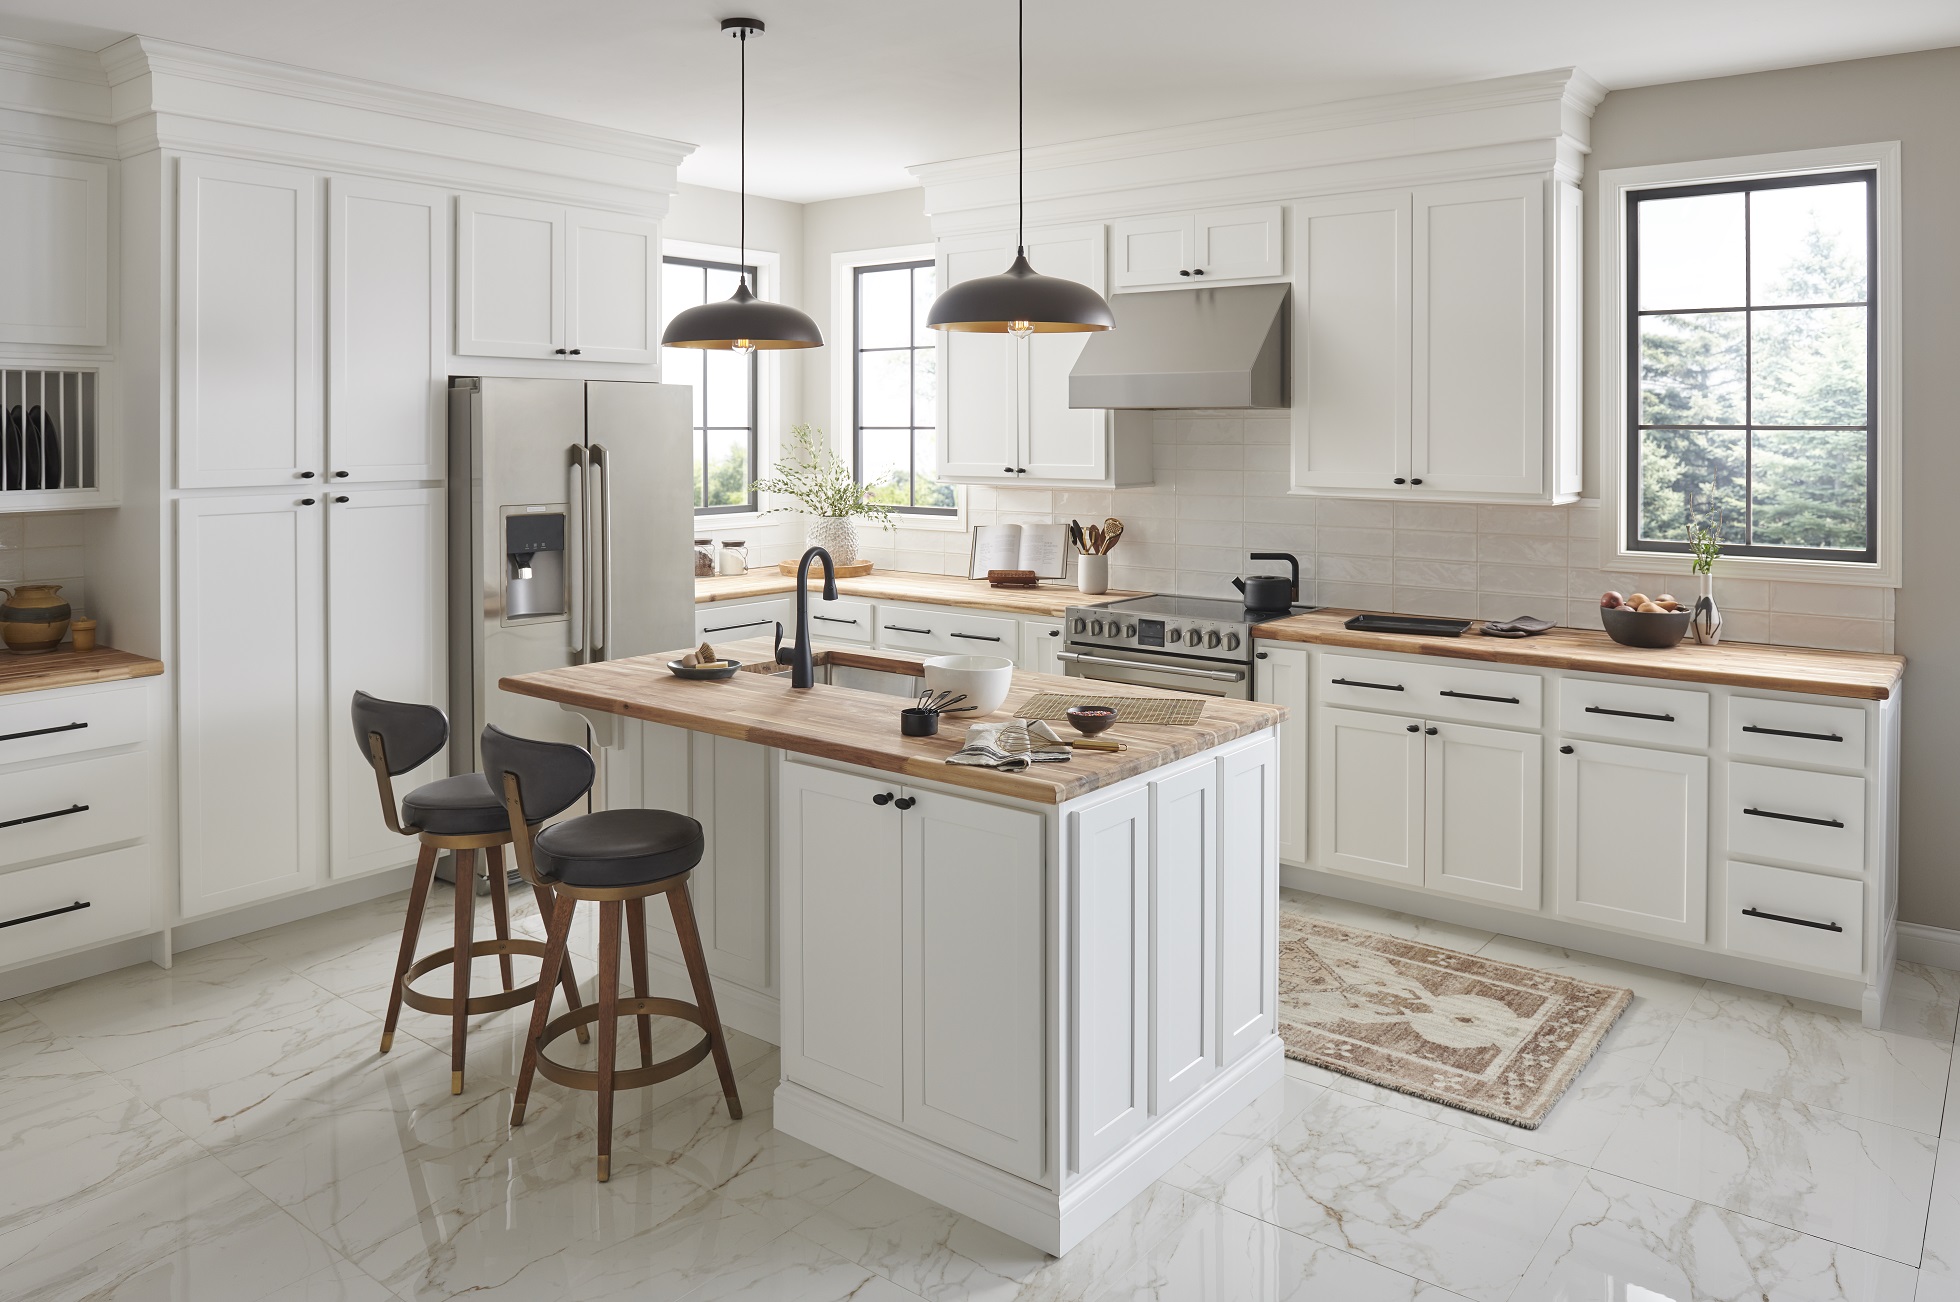
This type of island features all the conveniences of your primary countertops: electricity, sink, drainage and lots of space. It’s almost like an entire second kitchen.
On the downside, because you’re adding plumbing, your costs will skyrocket. The supply and drainage of your sink cannot easily connect to your sink’s main lines like the dishwasher. The lines for your island will have to run under the floor, which will be costly to add.
If you need an island for both eating and cooking, you can choose one that combines both functions. This type of island features two levels: The lower one is for cooking, and the higher one is for eating. These levels tend to be 36 and 42 inches high, respectively.
One drawback to this arrangement is that creating a dedicated eating space reduces the area you can use for preparing food. Preparing food on the upper level is difficult. With a single, flat countertop, on the other hand, you can temporarily use the eating space for cooking if necessary.
Reusing other pieces of furniture, such as an old dining table or dresser, can be a great way to save money and can give your kitchen a vintage touch.
There are many island shapes to consider as well.
This shape can work in any type of kitchen layout, assuming there’s enough space.
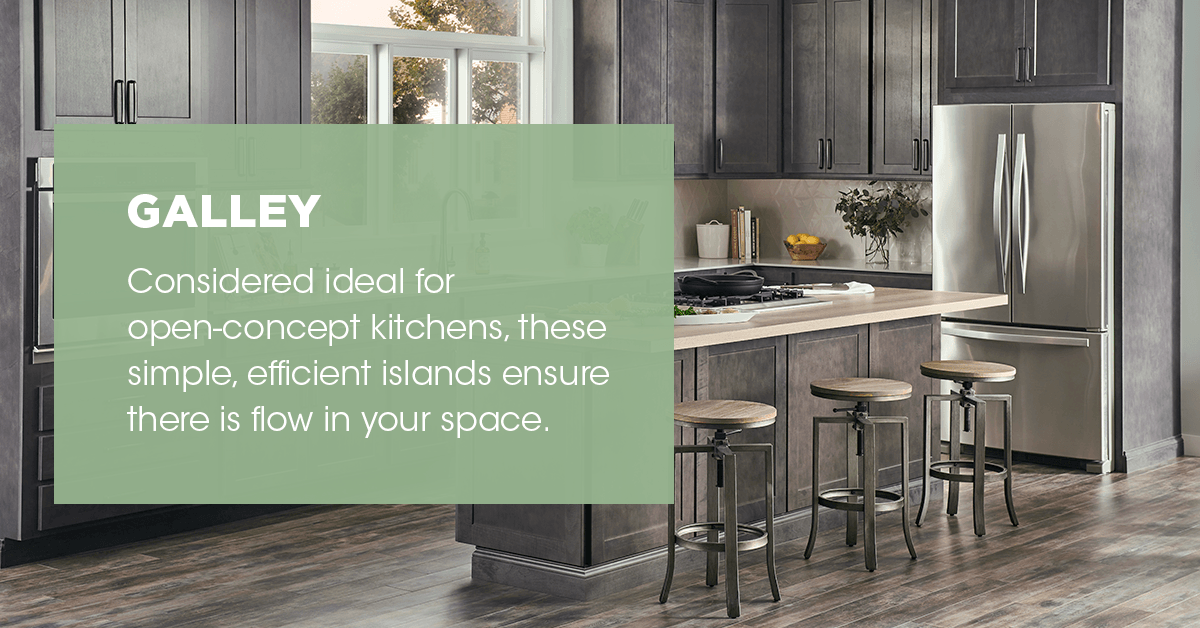
Pros: Considered ideal for open-concept kitchens, these simple, efficient islands ensure there is flow in your space. Because they don’t feature any curves, galley islands maximize storage space. You can also access your appliances and space very easily. This type of shape is great for bar-style seating.
Cons: Because of their simplicity, some homeowners find them a bit dull. Unless they’re huge or have an ornate exterior, they won’t wow your visitors. They also can be too small to fit certain appliances.
L-shaped islands have a right angle that gives them an open feel. If your kitchen is large enough to incorporate this design, you’ll find it is very versatile.
Pros: L-shaped islands are often large and have lots of storage space. This guarantees you’ll have plenty of counter space to cook, which is ideal if there are multiple chefs in the house. It’s also easy to make room for bay-style seating.
Cons: L-shaped islands run the risk of chopping up your kitchen layout, which can make meal preparation less efficient. Some homeowners find them too spread out, and having a corner can make some of the storage space less accessible.
U-shaped islands offer an efficient layout and abundance of storage space for appliances, which can be great for chefs.
Pros: U-shaped islands are perhaps the most spacious type of island. You have lots of space to prepare meals, store appliances and eat. They may also be able to house multiple appliances. While preparing your meal, may never have to go anywhere else in the kitchen.
Cons: Their size can be a drawback as well. U-shaped islands are an inefficient arrangement for some homeowners, and they find it troublesome to go from one side to the other. They can also make your kitchen feel less open and close it off from other rooms in your home. And although they have ample storage space, because of their double corners, the storage space is not as accessible.
Circular islands will give your kitchen more personality. The design can be a full circle or a half-moon.
Pros: Circle islands make kitchens look more interesting, so they may be a good choice if you want a less ordinary-looking kitchen. Like L-shaped and U-shaped islands, they feature lots of space to prepare your food. They’re also ideal if you want to add a large seating area — circular islands allow four or more guests to comfortably eat and talk.
Cons: With circular islands, food preparation and storage aren’t always as efficient. Because of the shape of the countertop, the way you cook may be limited. And unless your cabinets are designed to exactly fit the circular island, some storage space will likely end up getting wasted. It can also be difficult to access storage units in some designs because you may have to reach under a countertop overhang.
When deciding on materials for your kitchen island countertops, keep these two suggestions in mind:
Here is an overview of the most common island countertop materials.

One final thing to remember about kitchen islands is that they don’t have to be just about the countertop. The base of the island can be functional as well. By this, we mean you can install cabinets in this space, just as you would install them beneath your counters along the wall. You’ll find that your island is twice as useful. Not only does it provide you with a working space, but it also grants you additional storage room.
When you choose to add cabinets to your island, you can still use any of these same countertop materials. Cabinets don’t affect this decision in any way. The only thing that will be different is the extra storage you’ll be able to take advantage of beneath your island.
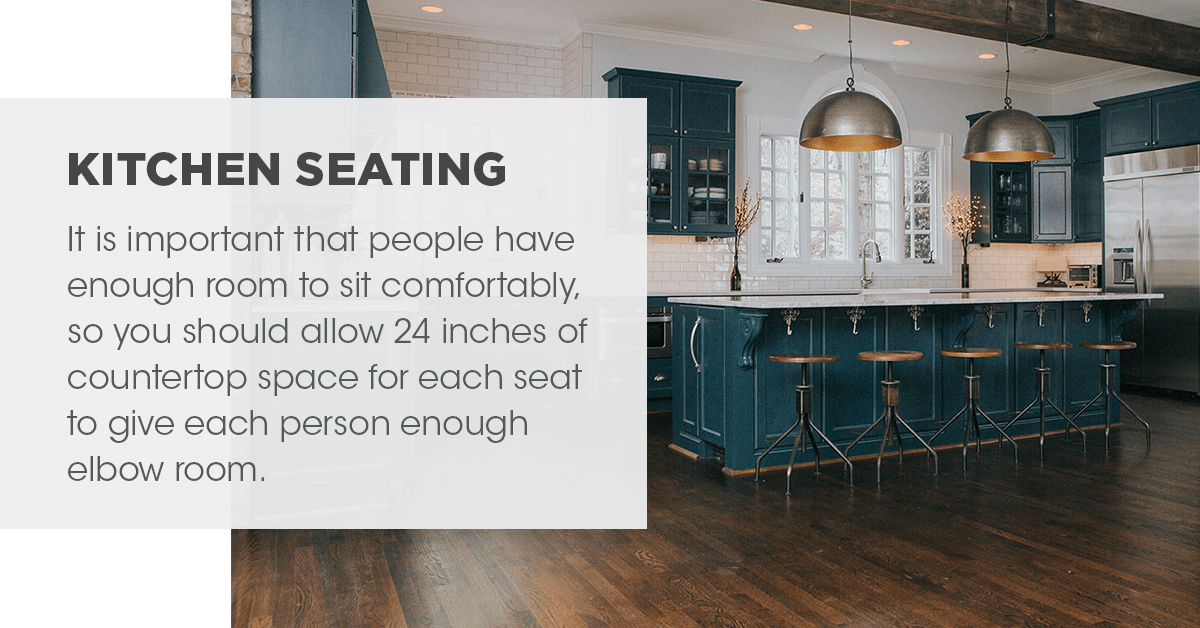
Since the kitchen is a popular spot to gather and socialize, seating is often central to island planning. It is important that people have enough room to sit comfortably, so you should allow 24 inches of countertop space for each seat to give each person enough elbow room. People also need sufficient knee room to feel comfortable, and the amount needed depends on the height of your counter:
You’re probably wondering how much these islands will set you back. Like almost all home upgrades, it depends on a variety of factors.
Projects that require electrical, plumbing and ventilation are significantly more expensive. Electrical wiring can cost anywhere from a few hundred dollars to more than $1,000. Installing water and drainage costs a minimum of $500, but it can exceed $1,500 in more complicated situations. Installing a gas line can range from $250 to more than $1,000. If you plan to add a vent hood to remove steam and odors, you’ll have to fork out at least $1,500 for the equipment and labor.
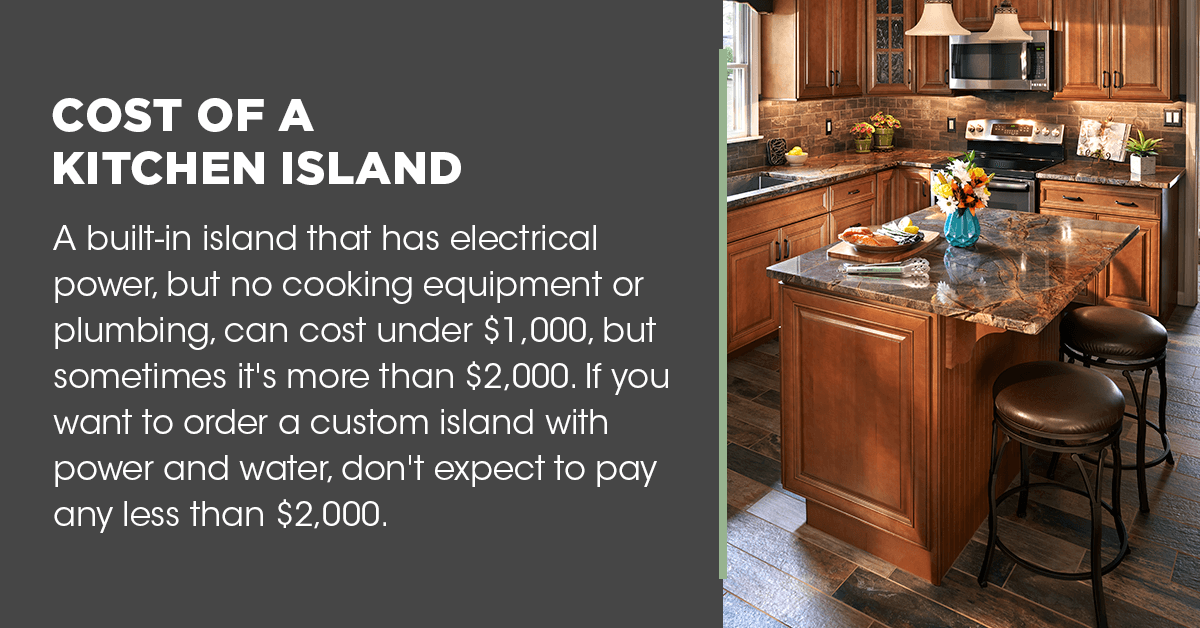
To give you a broad idea, a mobile cart island you assemble yourself might only cost you $200. A built-in island that has electrical power, but no cooking equipment or plumbing, can cost under $1,000, but sometimes it’s more than $2,000. If you want to order a custom island with power and water, don’t expect to pay any less than $2,000. And when adding things like eating space, appliances, ventilation and cabinets, you could easily pay more than $10,000.
Kitchen remodeling contractors can build custom islands. Some handymen can also do this, although the quality of their work varies. It is usually safer to hire kitchen contractors for these services, as they are more likely to be licensed and insured.
To save money, it’s a good idea to request written estimates from at least three contractors in your area. Let them know you’re getting estimates from several companies, and they’ll offer you the lowest estimate they can.
It depends on how ambitious your project is and whether you have the right tools and abilities to take it on. Here are the possibilities based on your skill level:
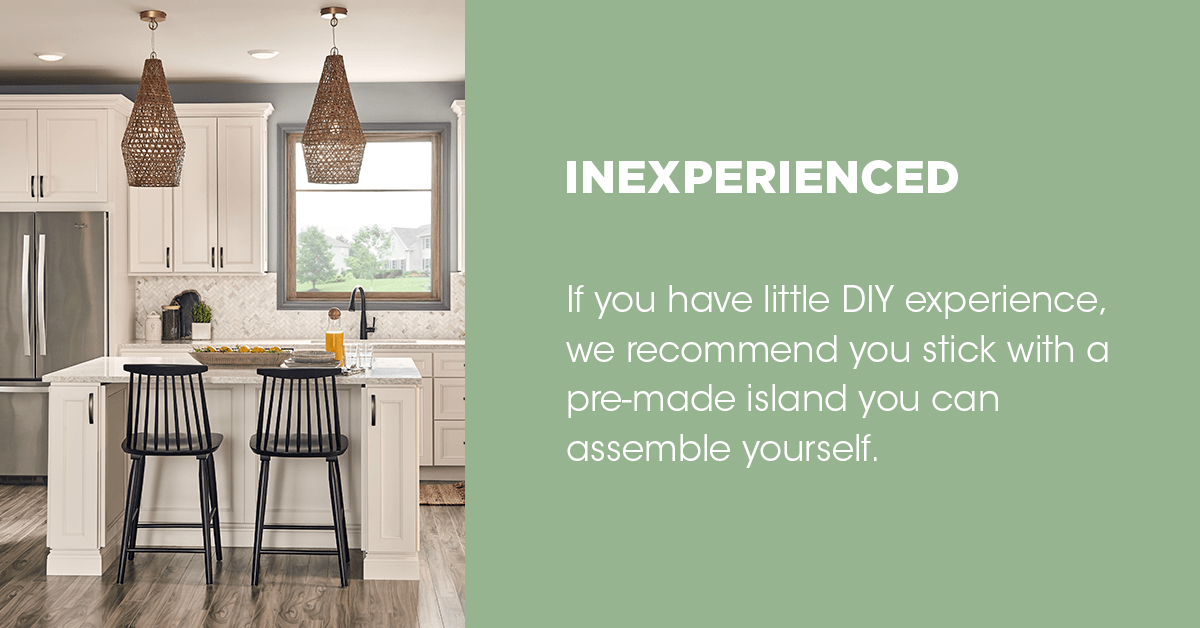
If you have little DIY experience, we recommend you stick with a pre-made island you can assemble yourself. Although most come finished, you can also paint and finish them if you wish. If you want to do something more, talk with a kitchen remodeling contractor about your project.
You can tackle something a little more challenging, such as two base cabinets on top of the flooring. Shim the cabinets to ensure they are level and screw them together. Then, once you’ve added end caps and kick plates, install a prefab countertop on top.
If you’ve had experience with wiring, you can install an electrical outlet in your counter. If your project involves installing a circuit in the electrical panel for the island, however, you should hire an electrician. If you install power, most building codes will require you to fix your island to the floor.
If you’re a seasoned DIYer, you’re probably already very aware of what you can and cannot do. Remember that projects like running 240-volt power and natural gas connections can be dangerous and are best left to professional tradespeople. Even less dangerous projects like water lines can cost enormous amounts of damage if they leak or break.
We hope our guide has given you a better idea of what you need, and you’re now well on your way to finding the perfect kitchen island. If you still have questions or are looking for more kitchen island ideas, find a Wolf dealer near you to recommend which cabinets would be best for your dream kitchen island.